
The My Sol Pools Building Process
![]()


The Construction Process
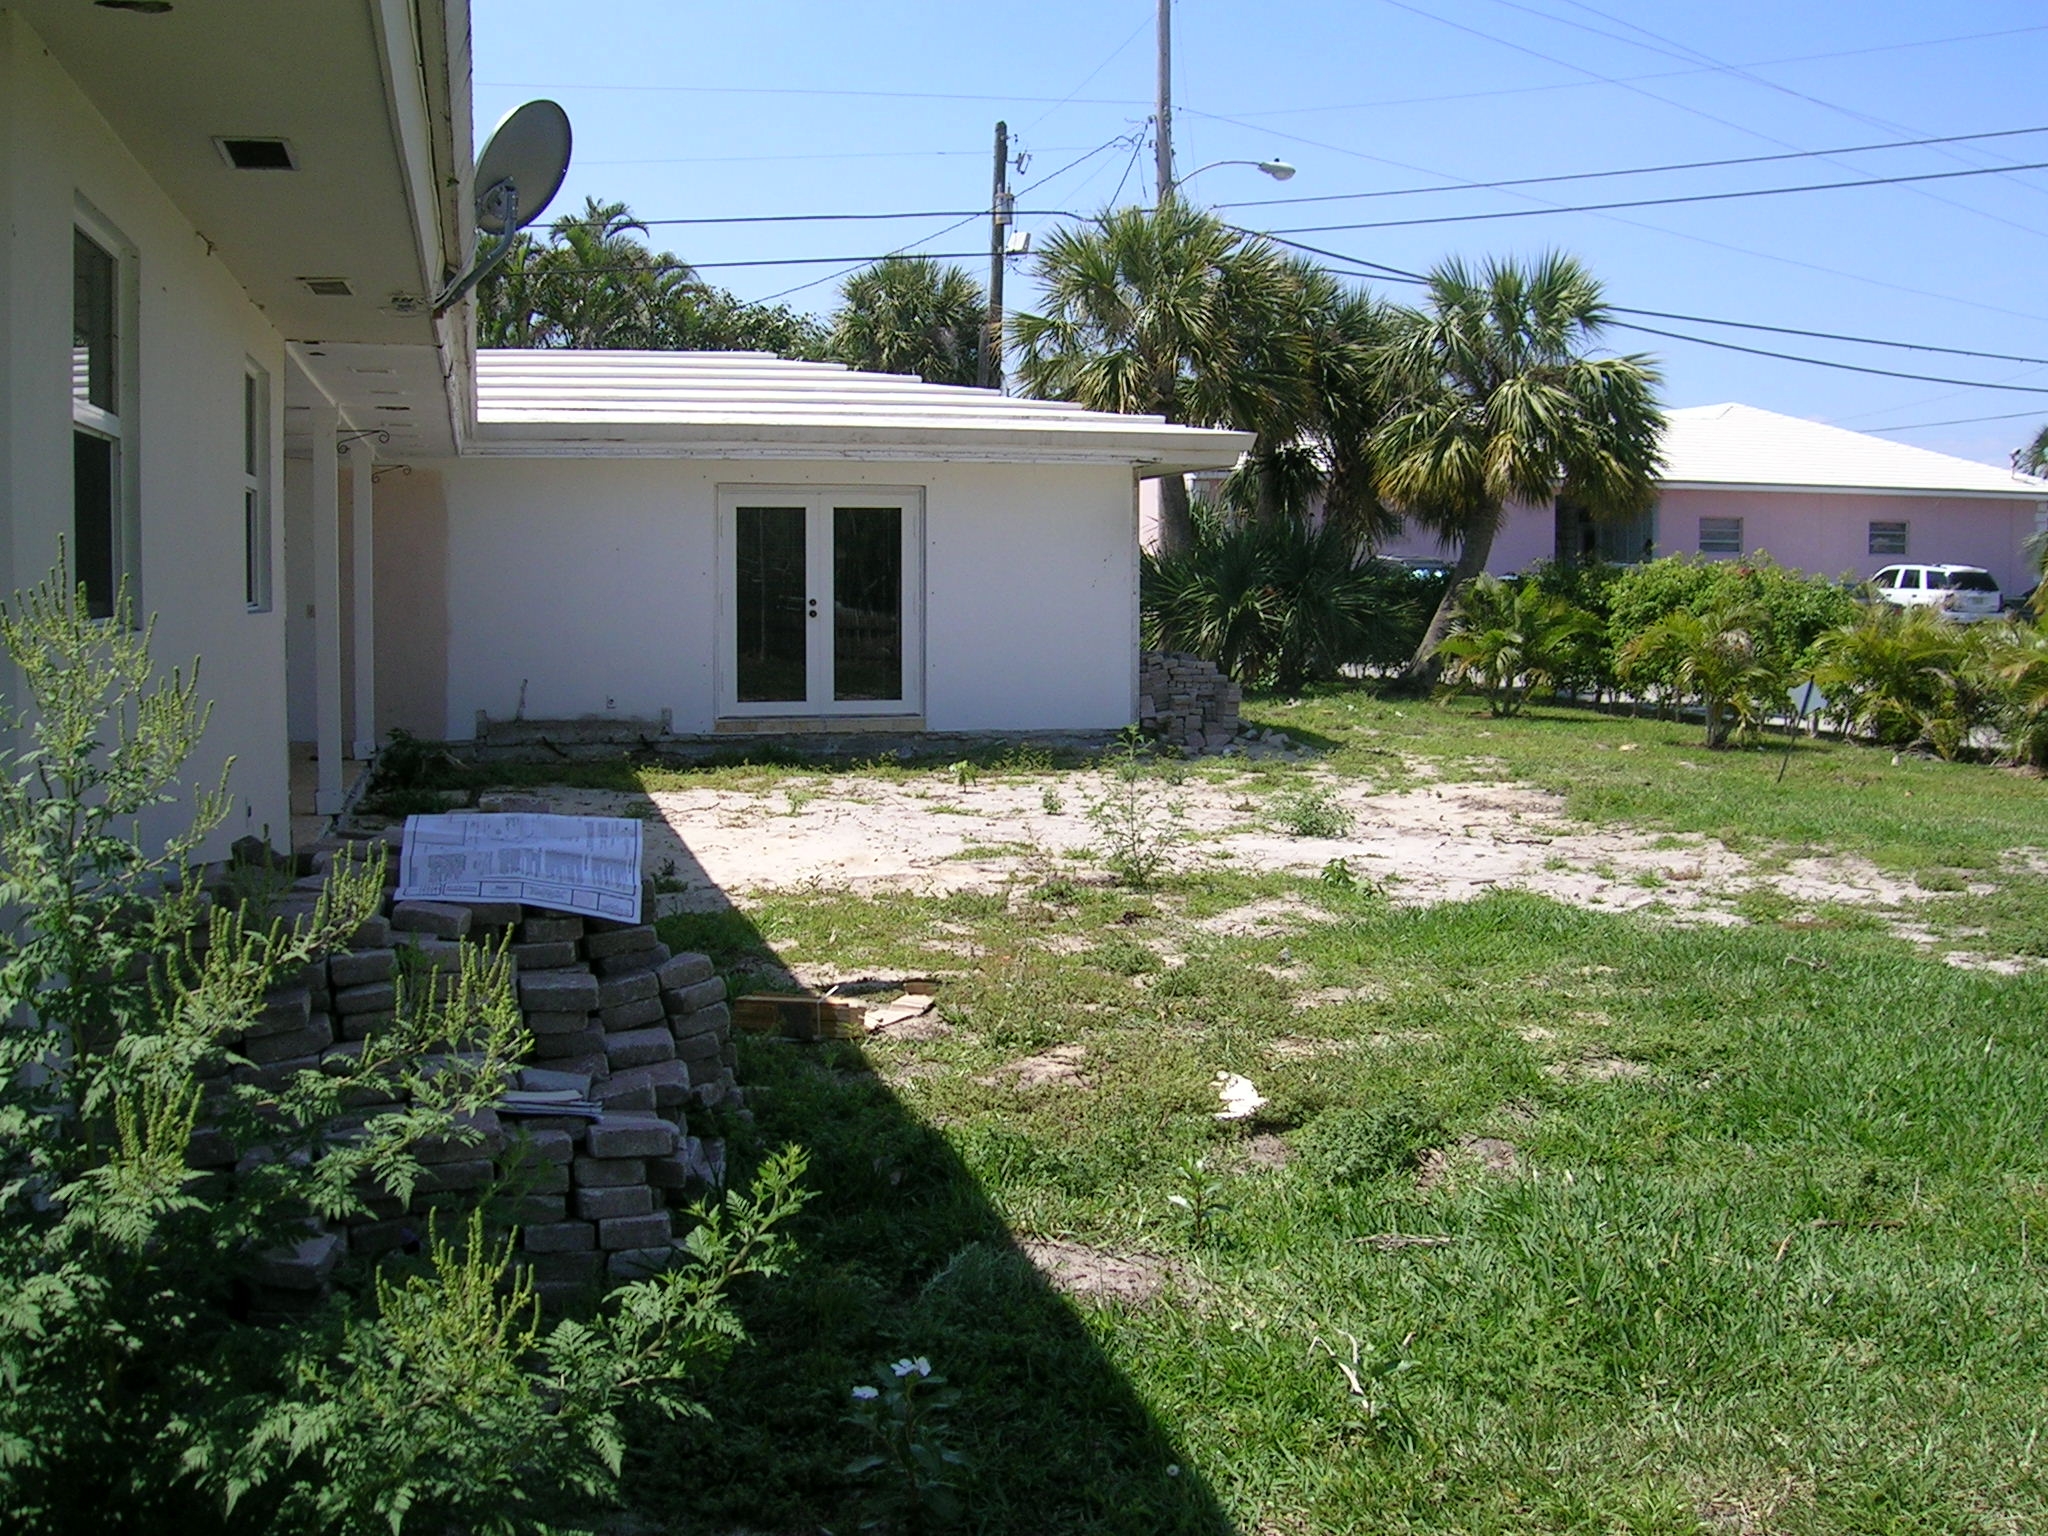
1. Preliminary meeting with prospective client to get a feel for the clients’ vision, take notes for other requirements, take measurements and photographs of project area.
2. Design presented to prospective client together with tile, finish, coping and paver samples.
3. Proposal based on approved design and materials selection presented to prospective client for approval.
4. Approved Drawing: computer generated drawings e-mailed to Architectural/Engineering firm for generation of working architectural plans.
5. Permit package is submitted for approval.
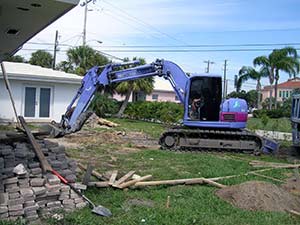
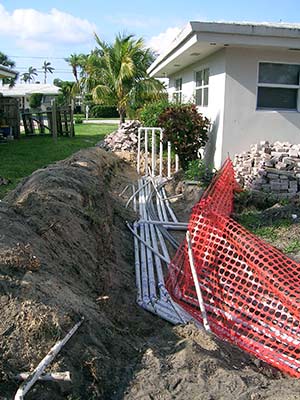
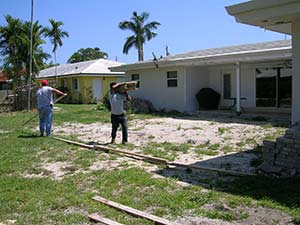
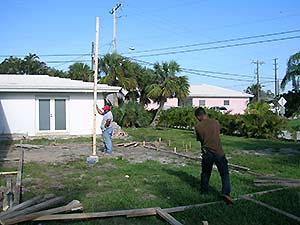
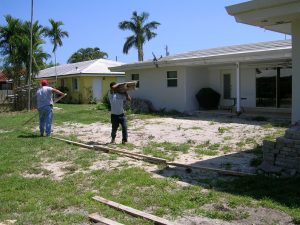
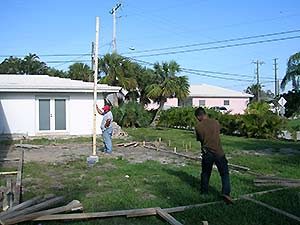
6. Site work: area is cleared and stripped of any sod or other organic material. Layout of pool and elevations are determined and marked.

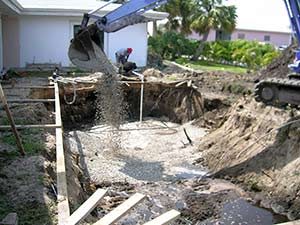
7. Excavation: Following pool layout, digging and removal of soil is done with machinery such as an excavator and a bobcat including the addition of a gravel sub-grade gravel.


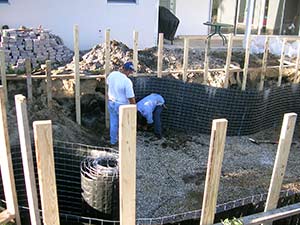
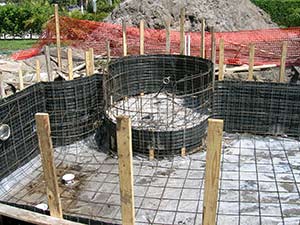
8. Initial Pool Form: 2 x 4 stakes and flexible covered wire mesh backing are used to create the form for the walls.

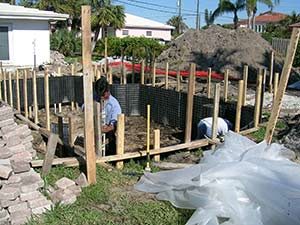
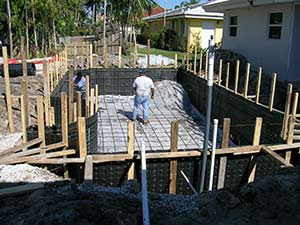
9. Steel Form: Rebar (#4) is bent and tied together to create the “skeleton”, typically a 1′ x 1′ grid of steel and separated about 2″ from the wall backing and from the soil/gravel at the base.
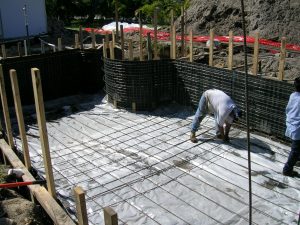
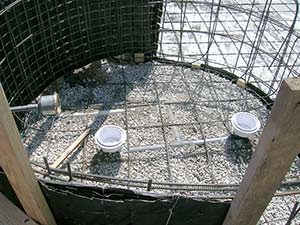
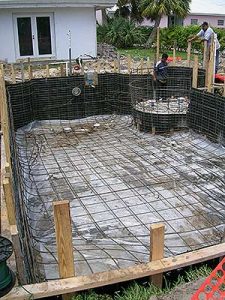
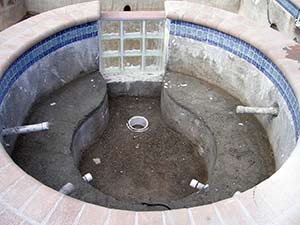
10. Plumbing & Lights: This includes main drains, skimmers, returns, jets, vacuum lines, water features, auto-fills, low voltage electrical.

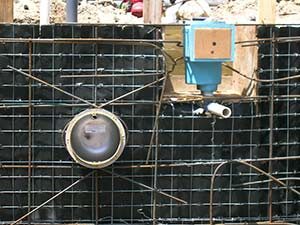
11. Inspection: Steel frame of pool is bonded and inspected to ensure code compliance.
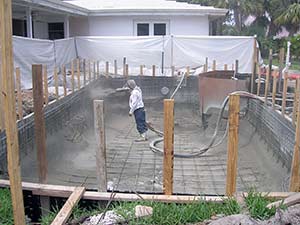
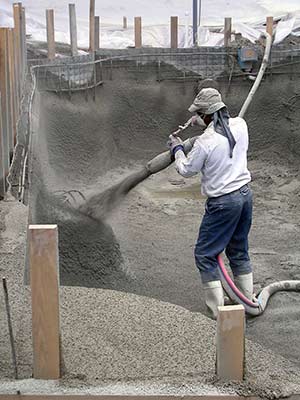
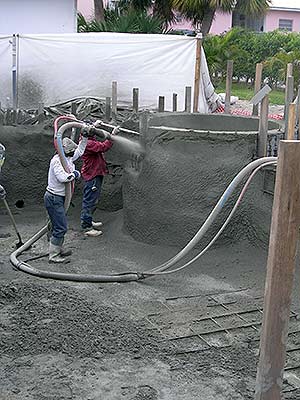
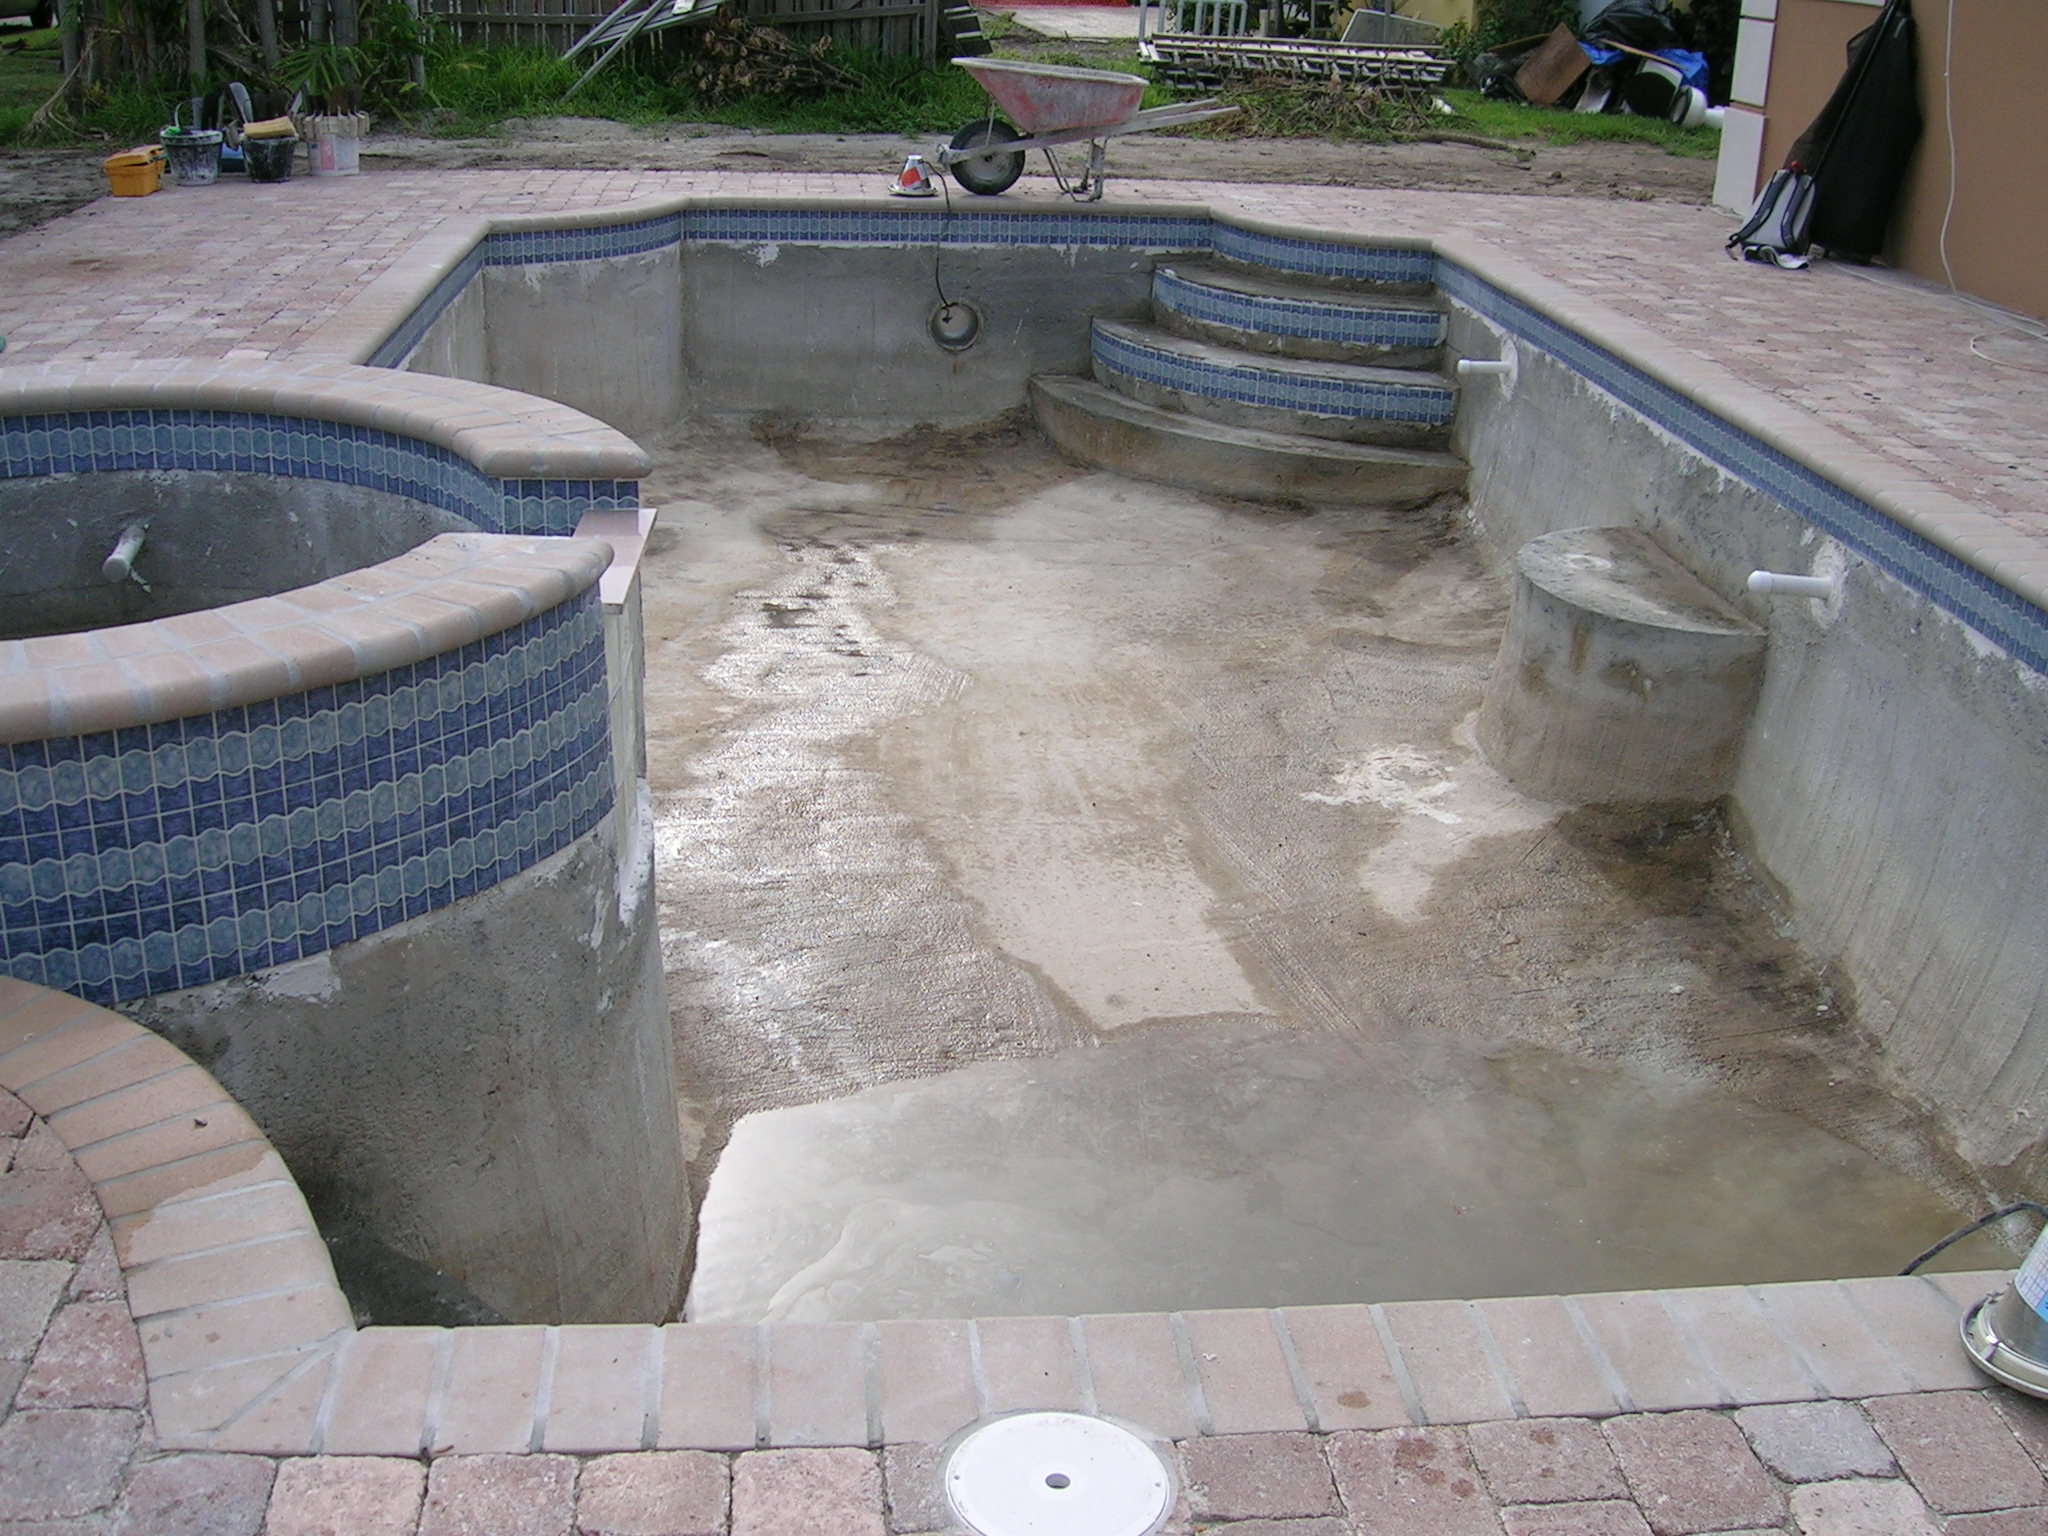
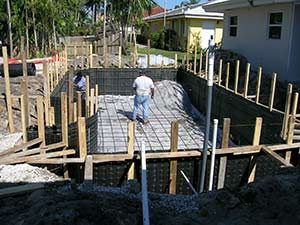
12. Shotcrete or Gunite: Shotcrete or gunite is shot at high pressure to form integrated pool shell. Pool equipment pad may be also done at this time.
0497: 0501: , 0502: 0504:
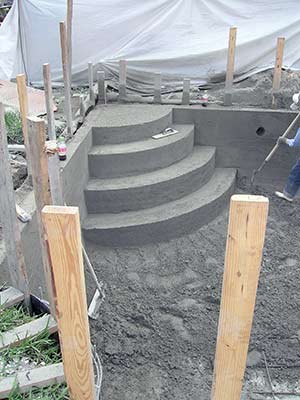
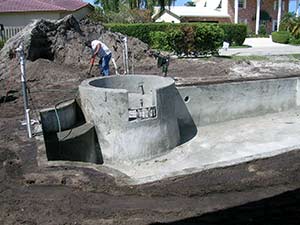
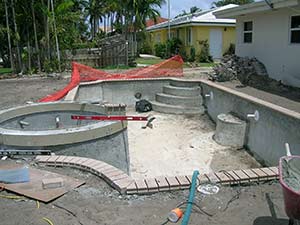
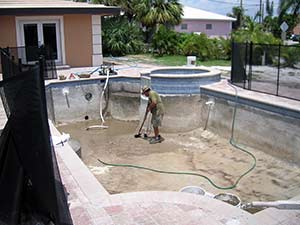
13. Backfill and compaction of soil around pool is done after pool shell is completed
0508: 0510:
14. Inspection: Backfill inspection and certification engineers.
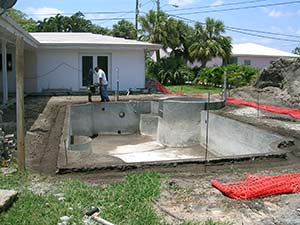
15. Perimeter Plumbing/Lighting: New plumbing trenches are dug (after backfill and compaction around pool). Perimeter plumbing/lighting is run from pool to equipment pad area.
0541: 0547:
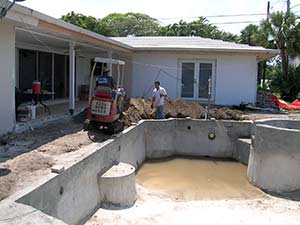
16. Plumbing inspection of perimeter plumbing is done (pipes need to maintain required pressure). Again, backfill over perimeter piping and compaction with a small bobcat and the use of water (no heavy machinery over piping area).
17. Equipment (Pumps, Filter, Heater, Saline Chlorinator, etc.) and electrical installation is completed. We install quality valves and recommend quality products for filters, pumps, chlorinators and automation.
18. Inspection: Electrical inspection and deck bonding inspection to ensure compliance.
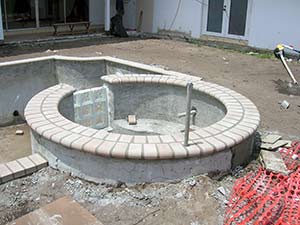
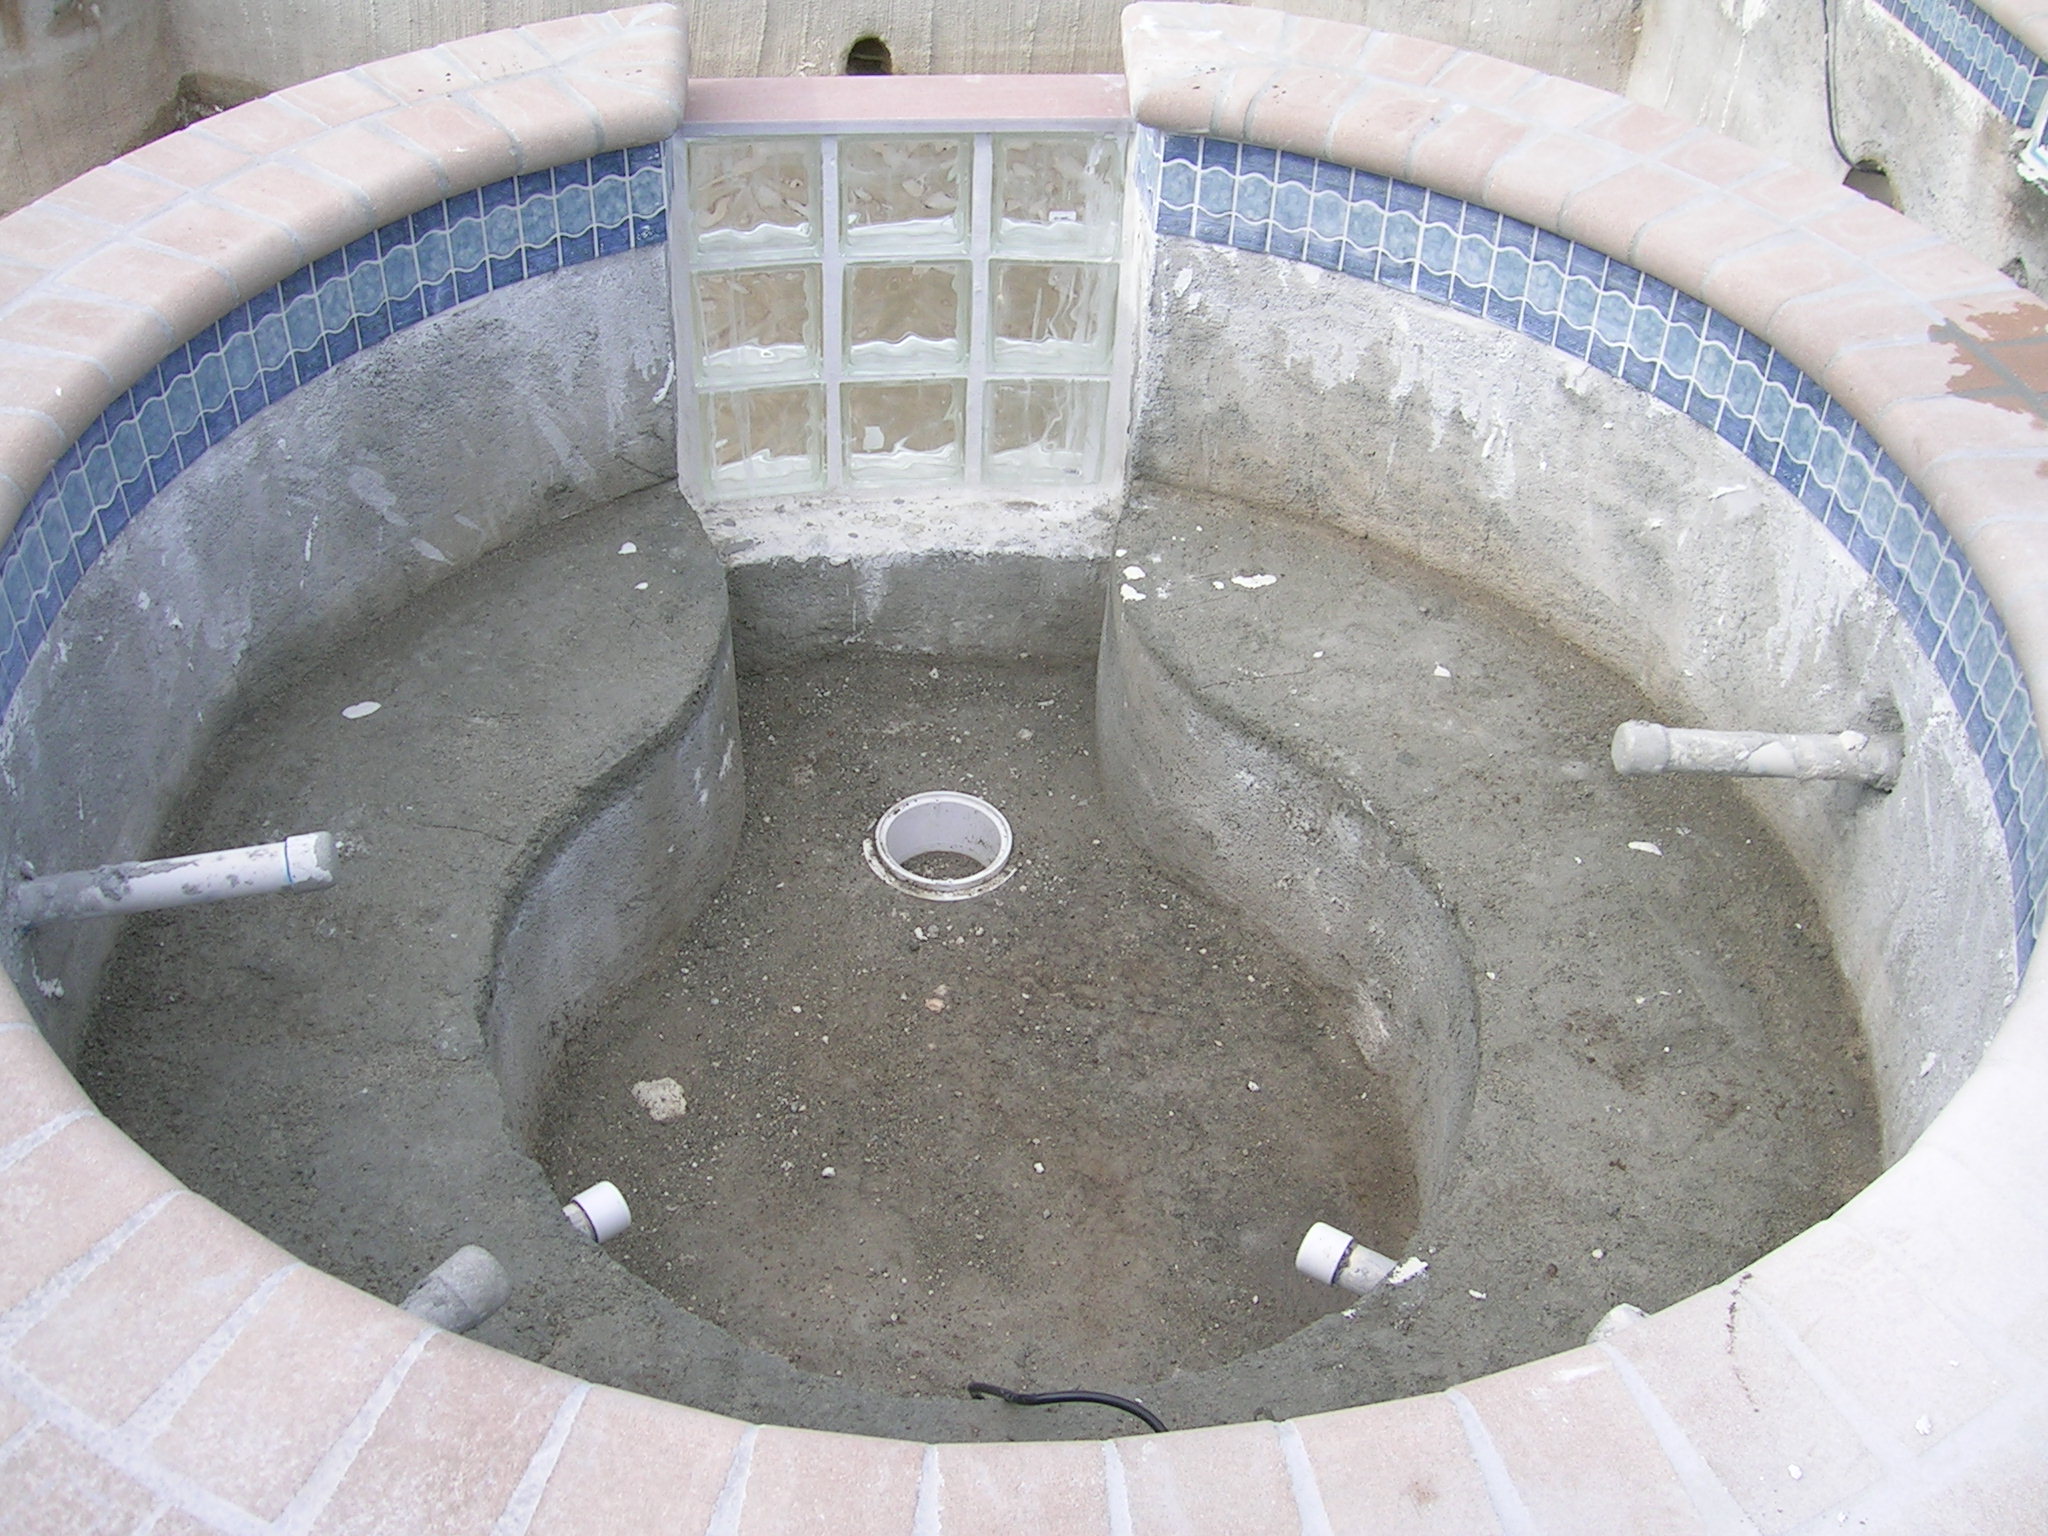
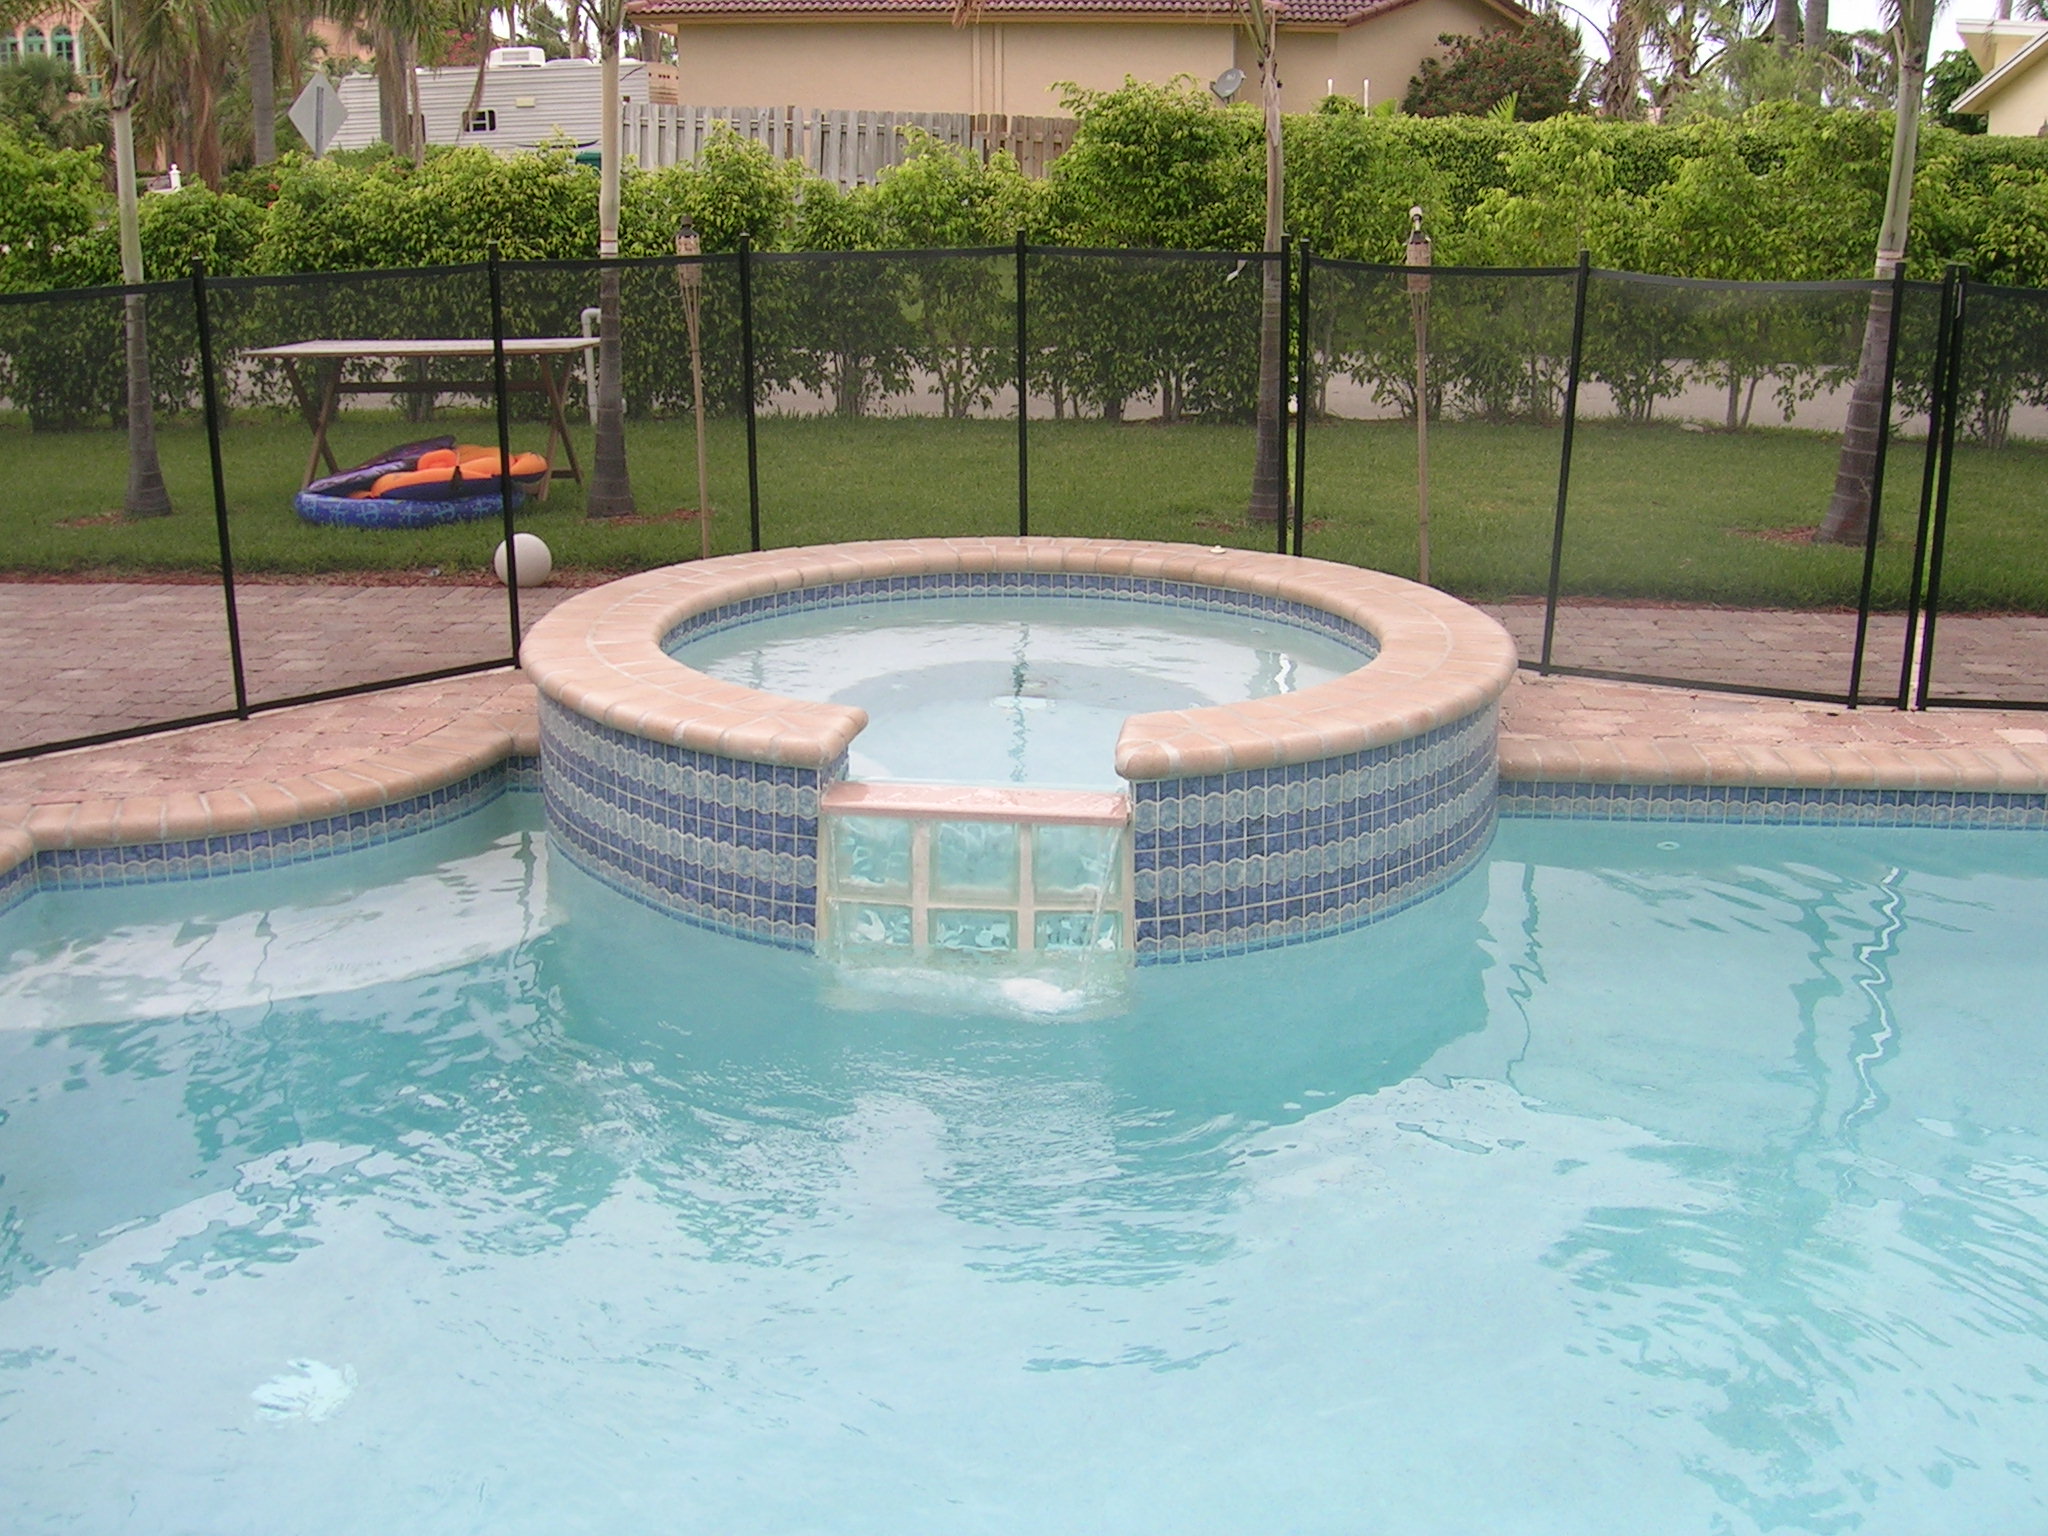
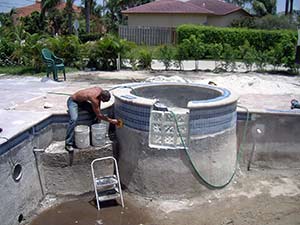
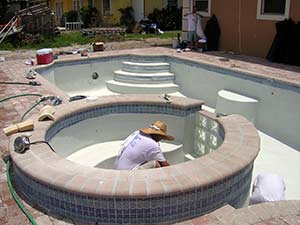
19. Coping: Deck elevation is determined and coping is installed around pool beam perimeter and at spa.
0573: 0576: 0577:
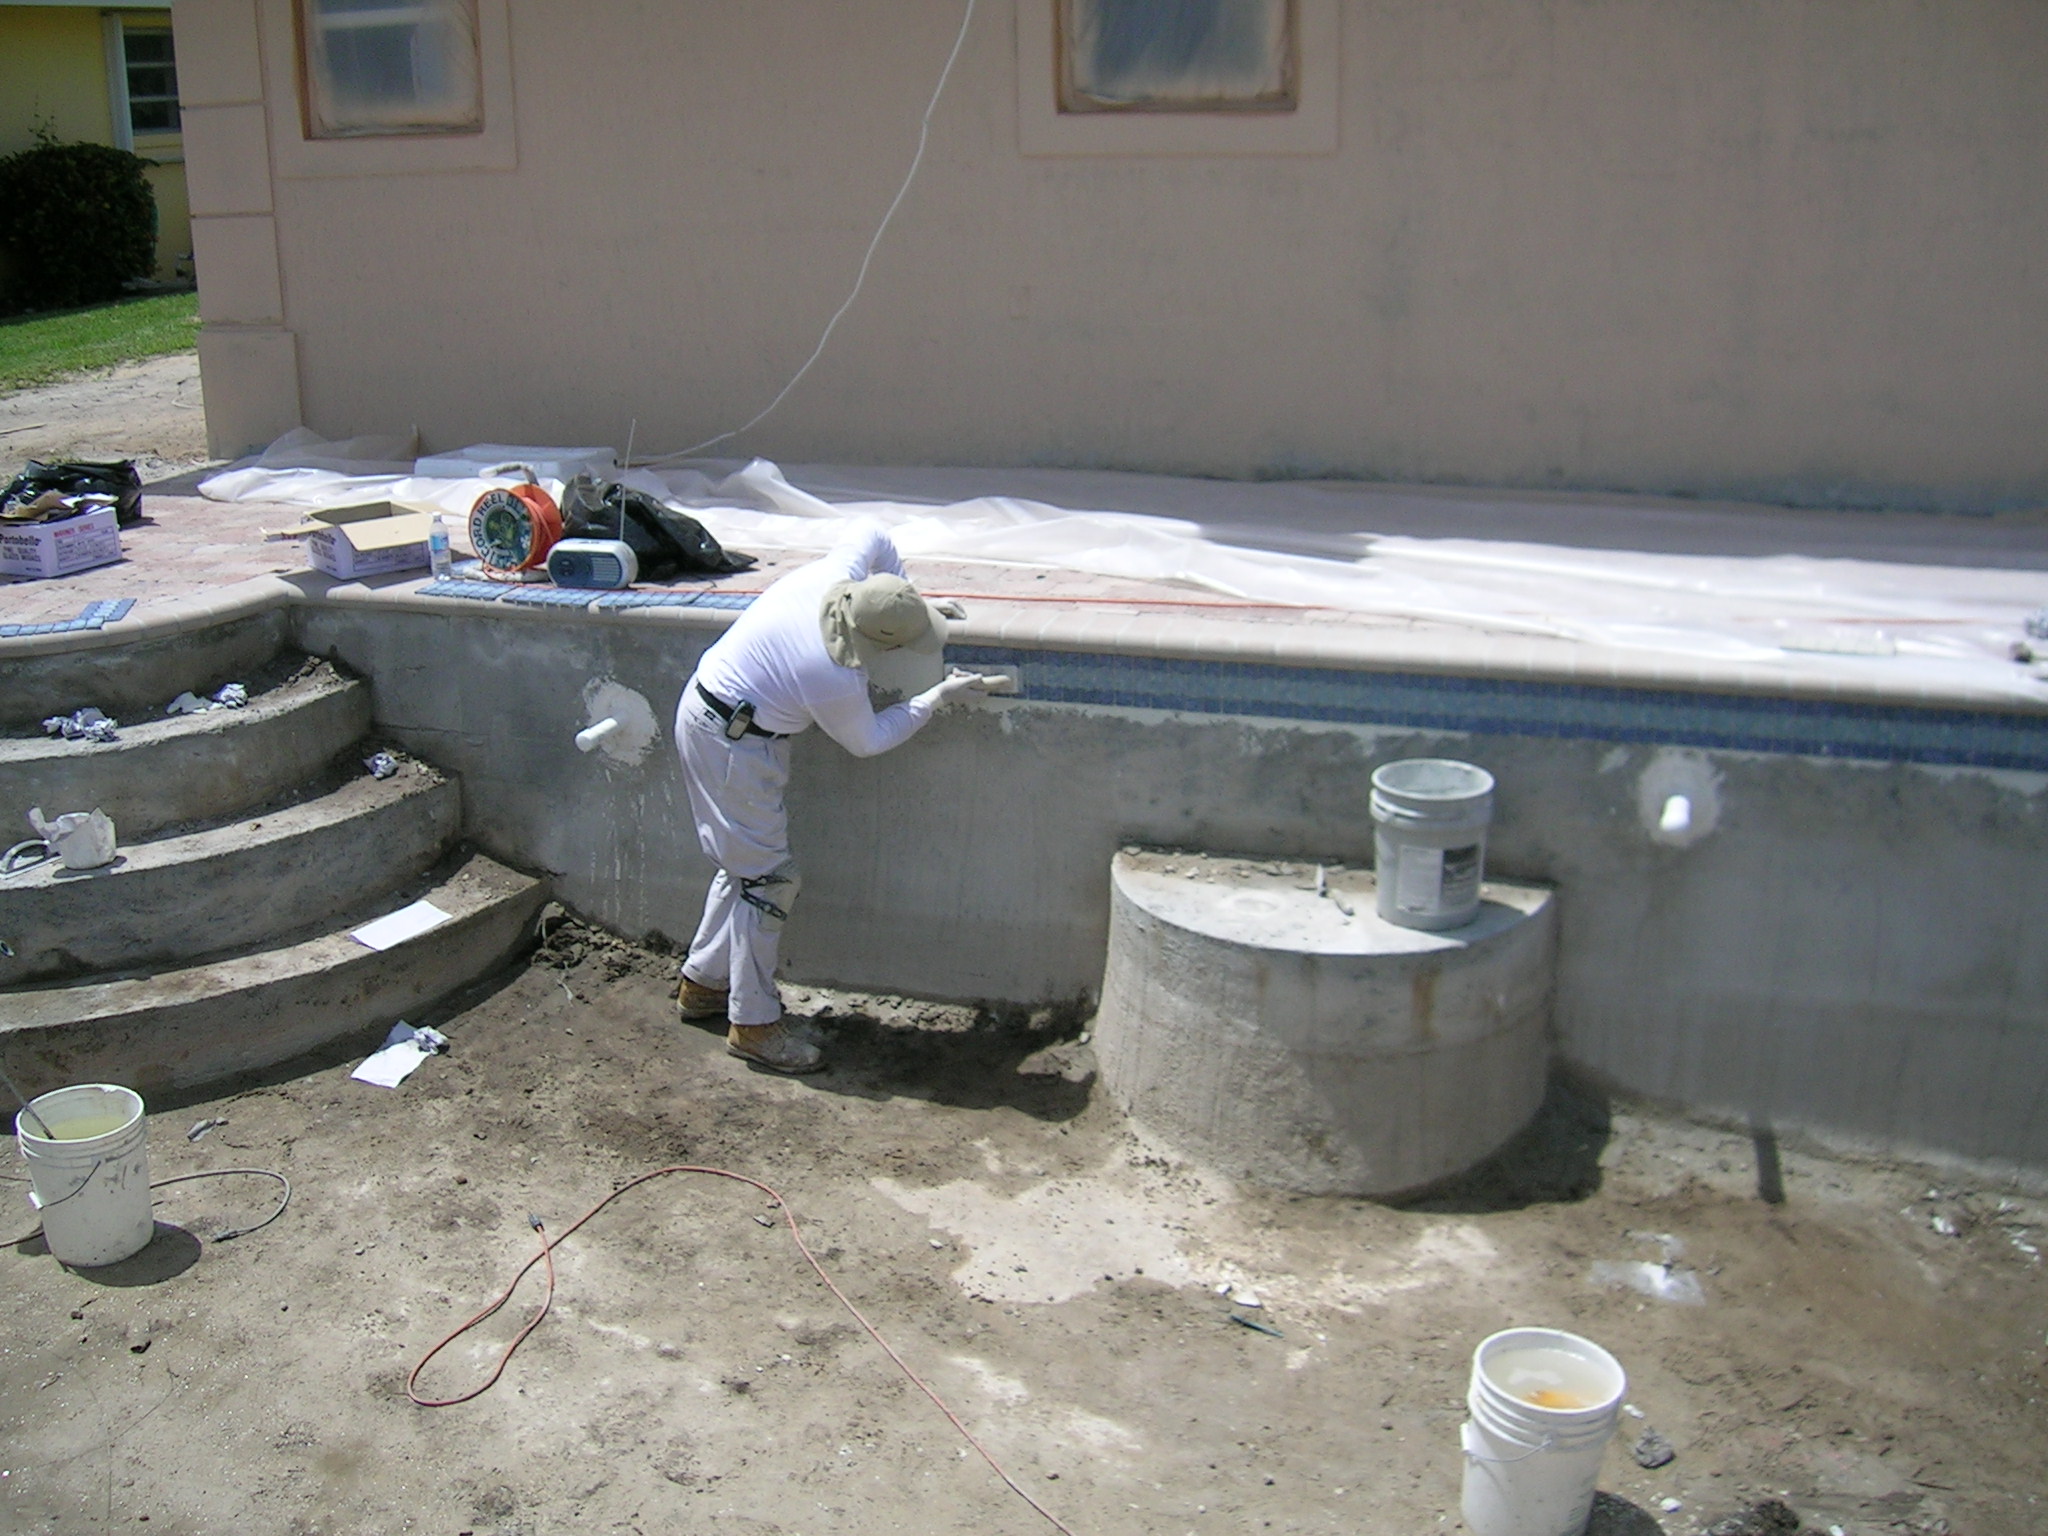
20. Tile: Waterline and all other tile is installed at pool.
General pool picture 008 & 011:
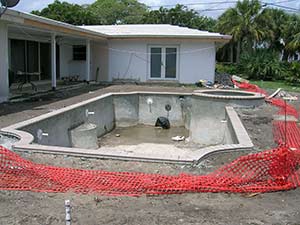
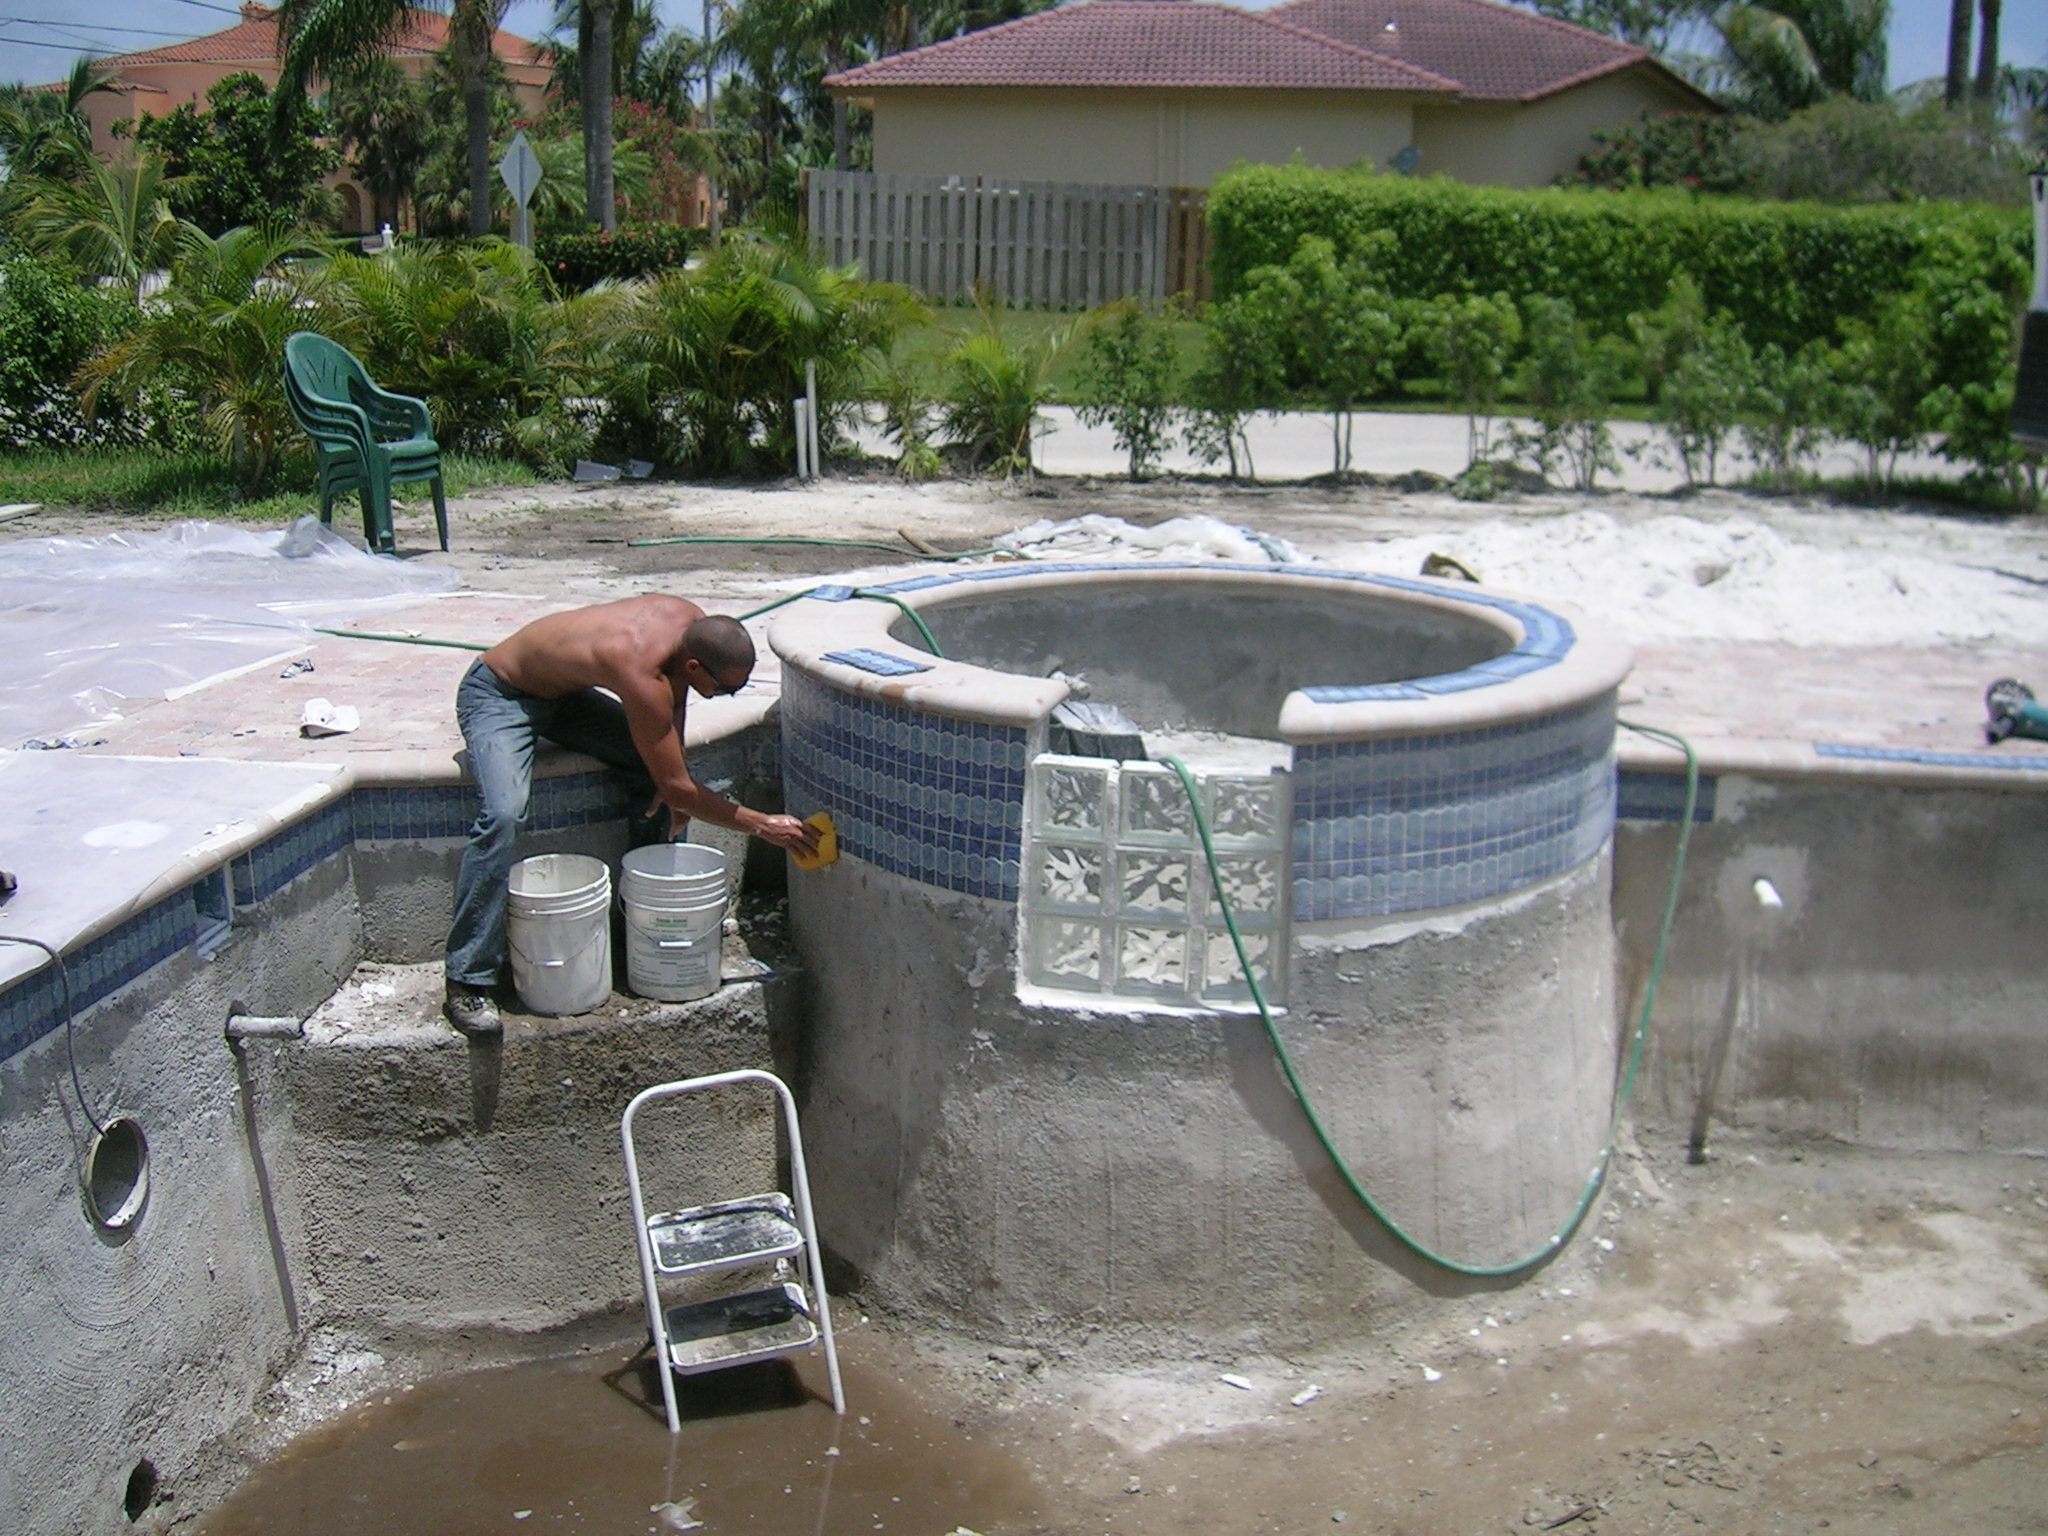
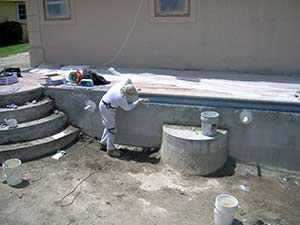
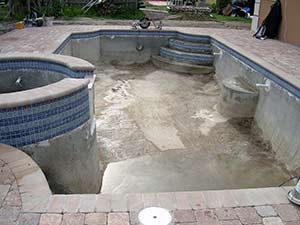
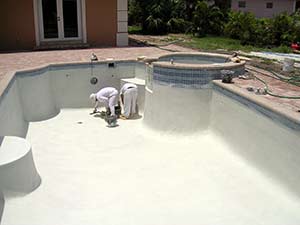
21. Interior cleaning and preparation prior to diamondbrite finish.
012: 016: 017 :
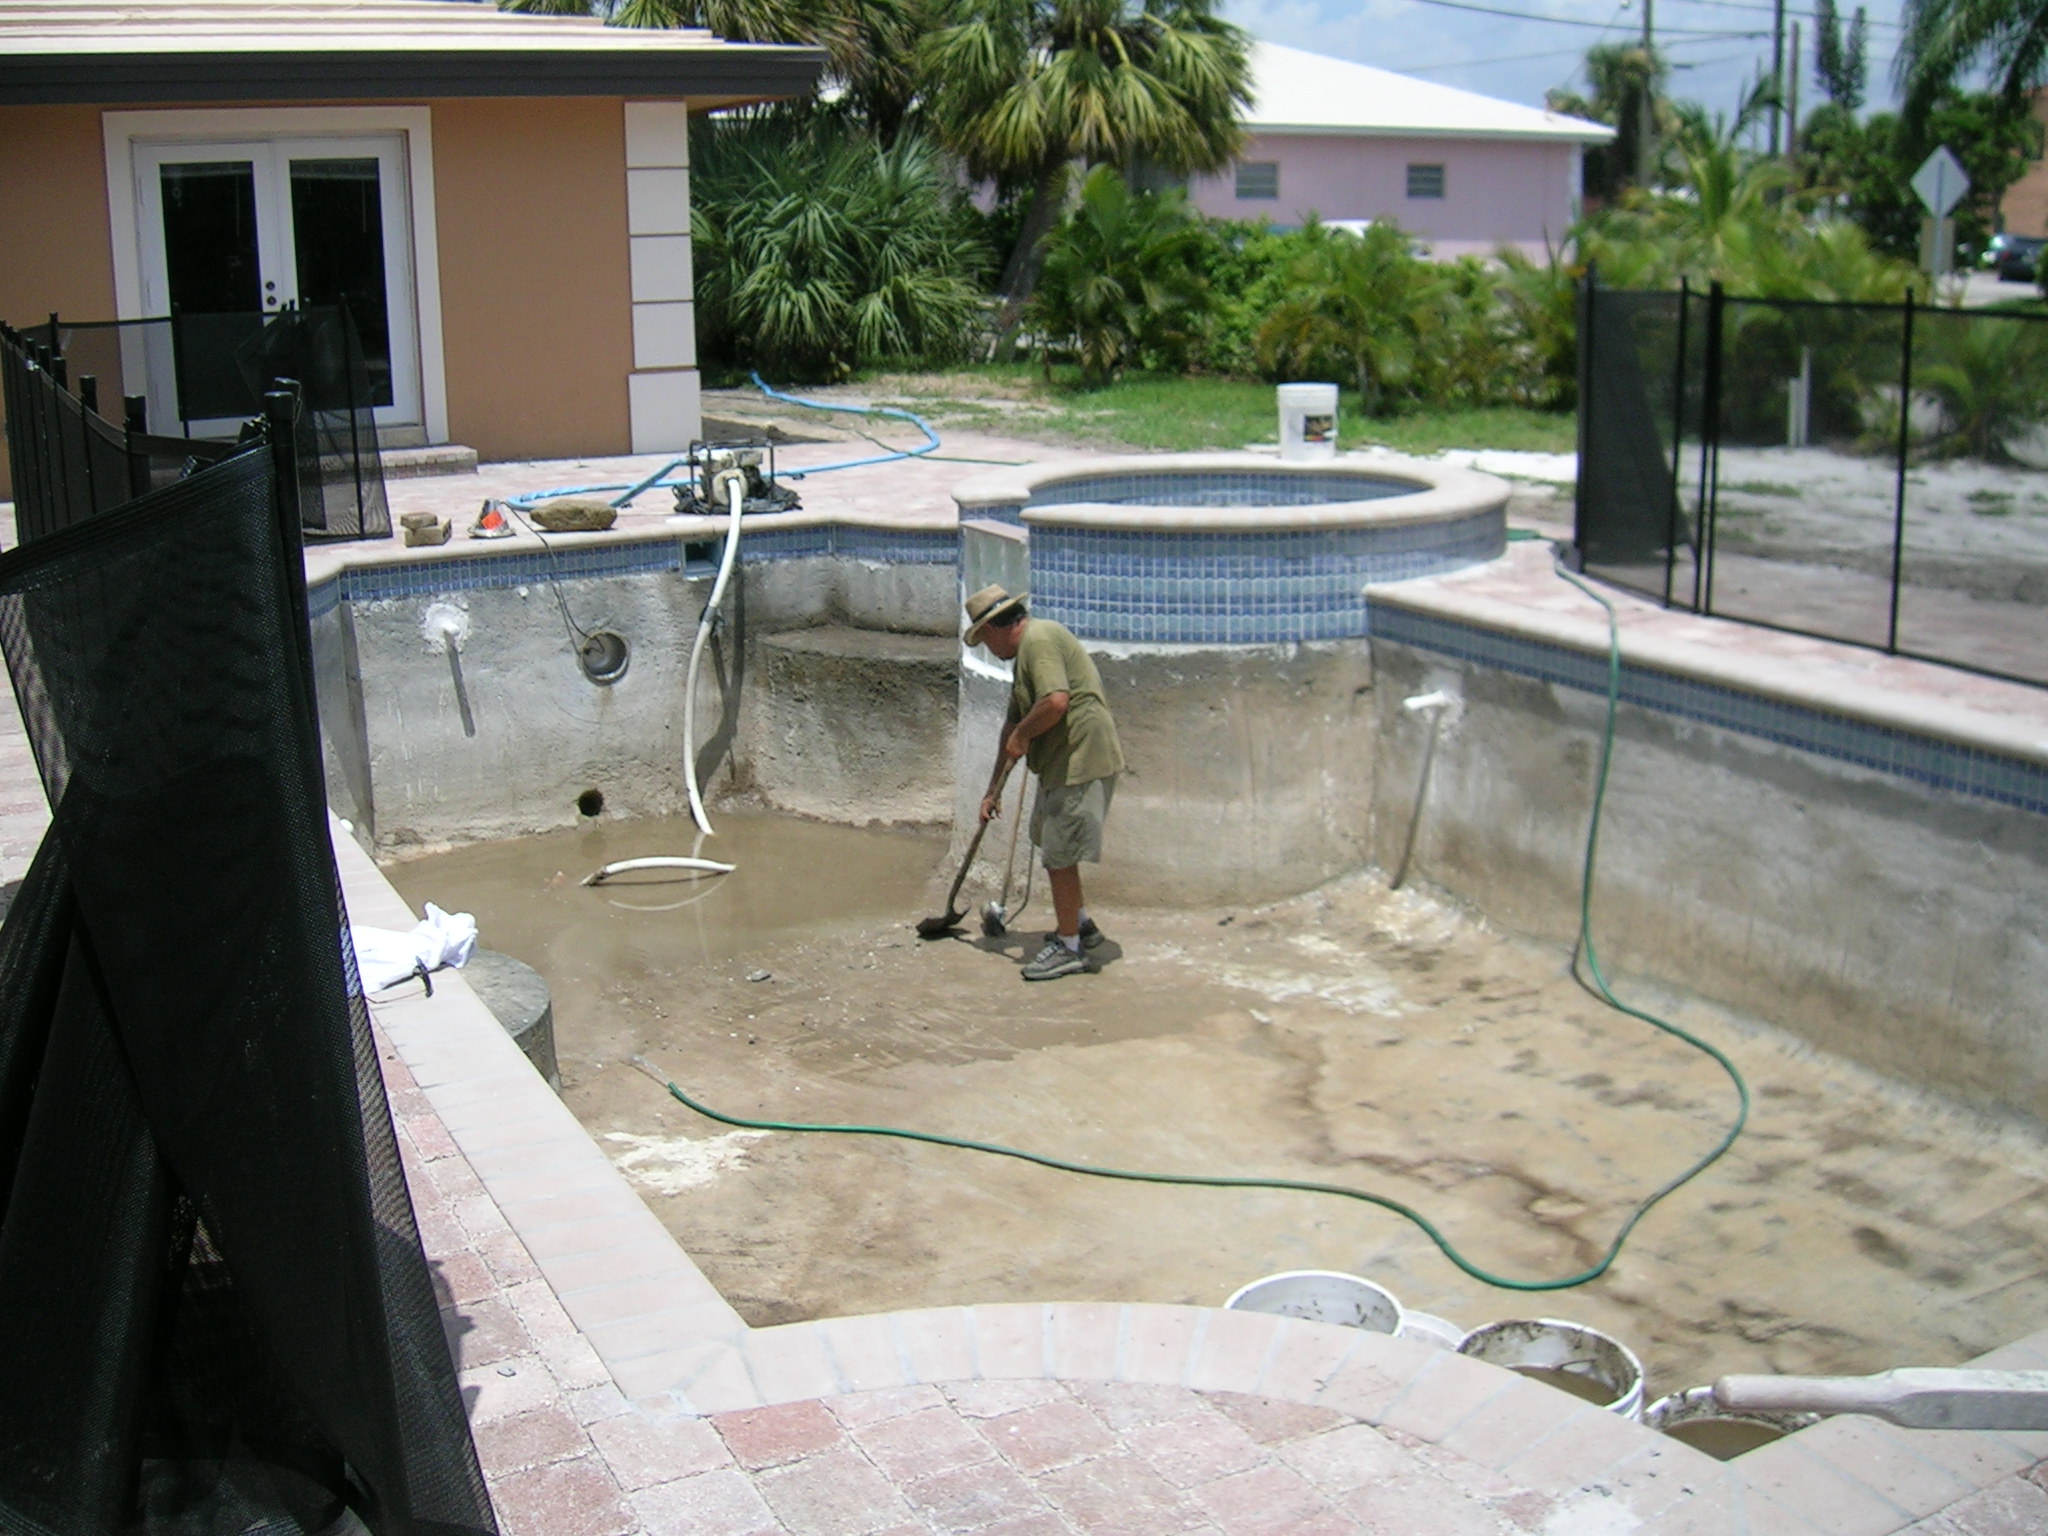
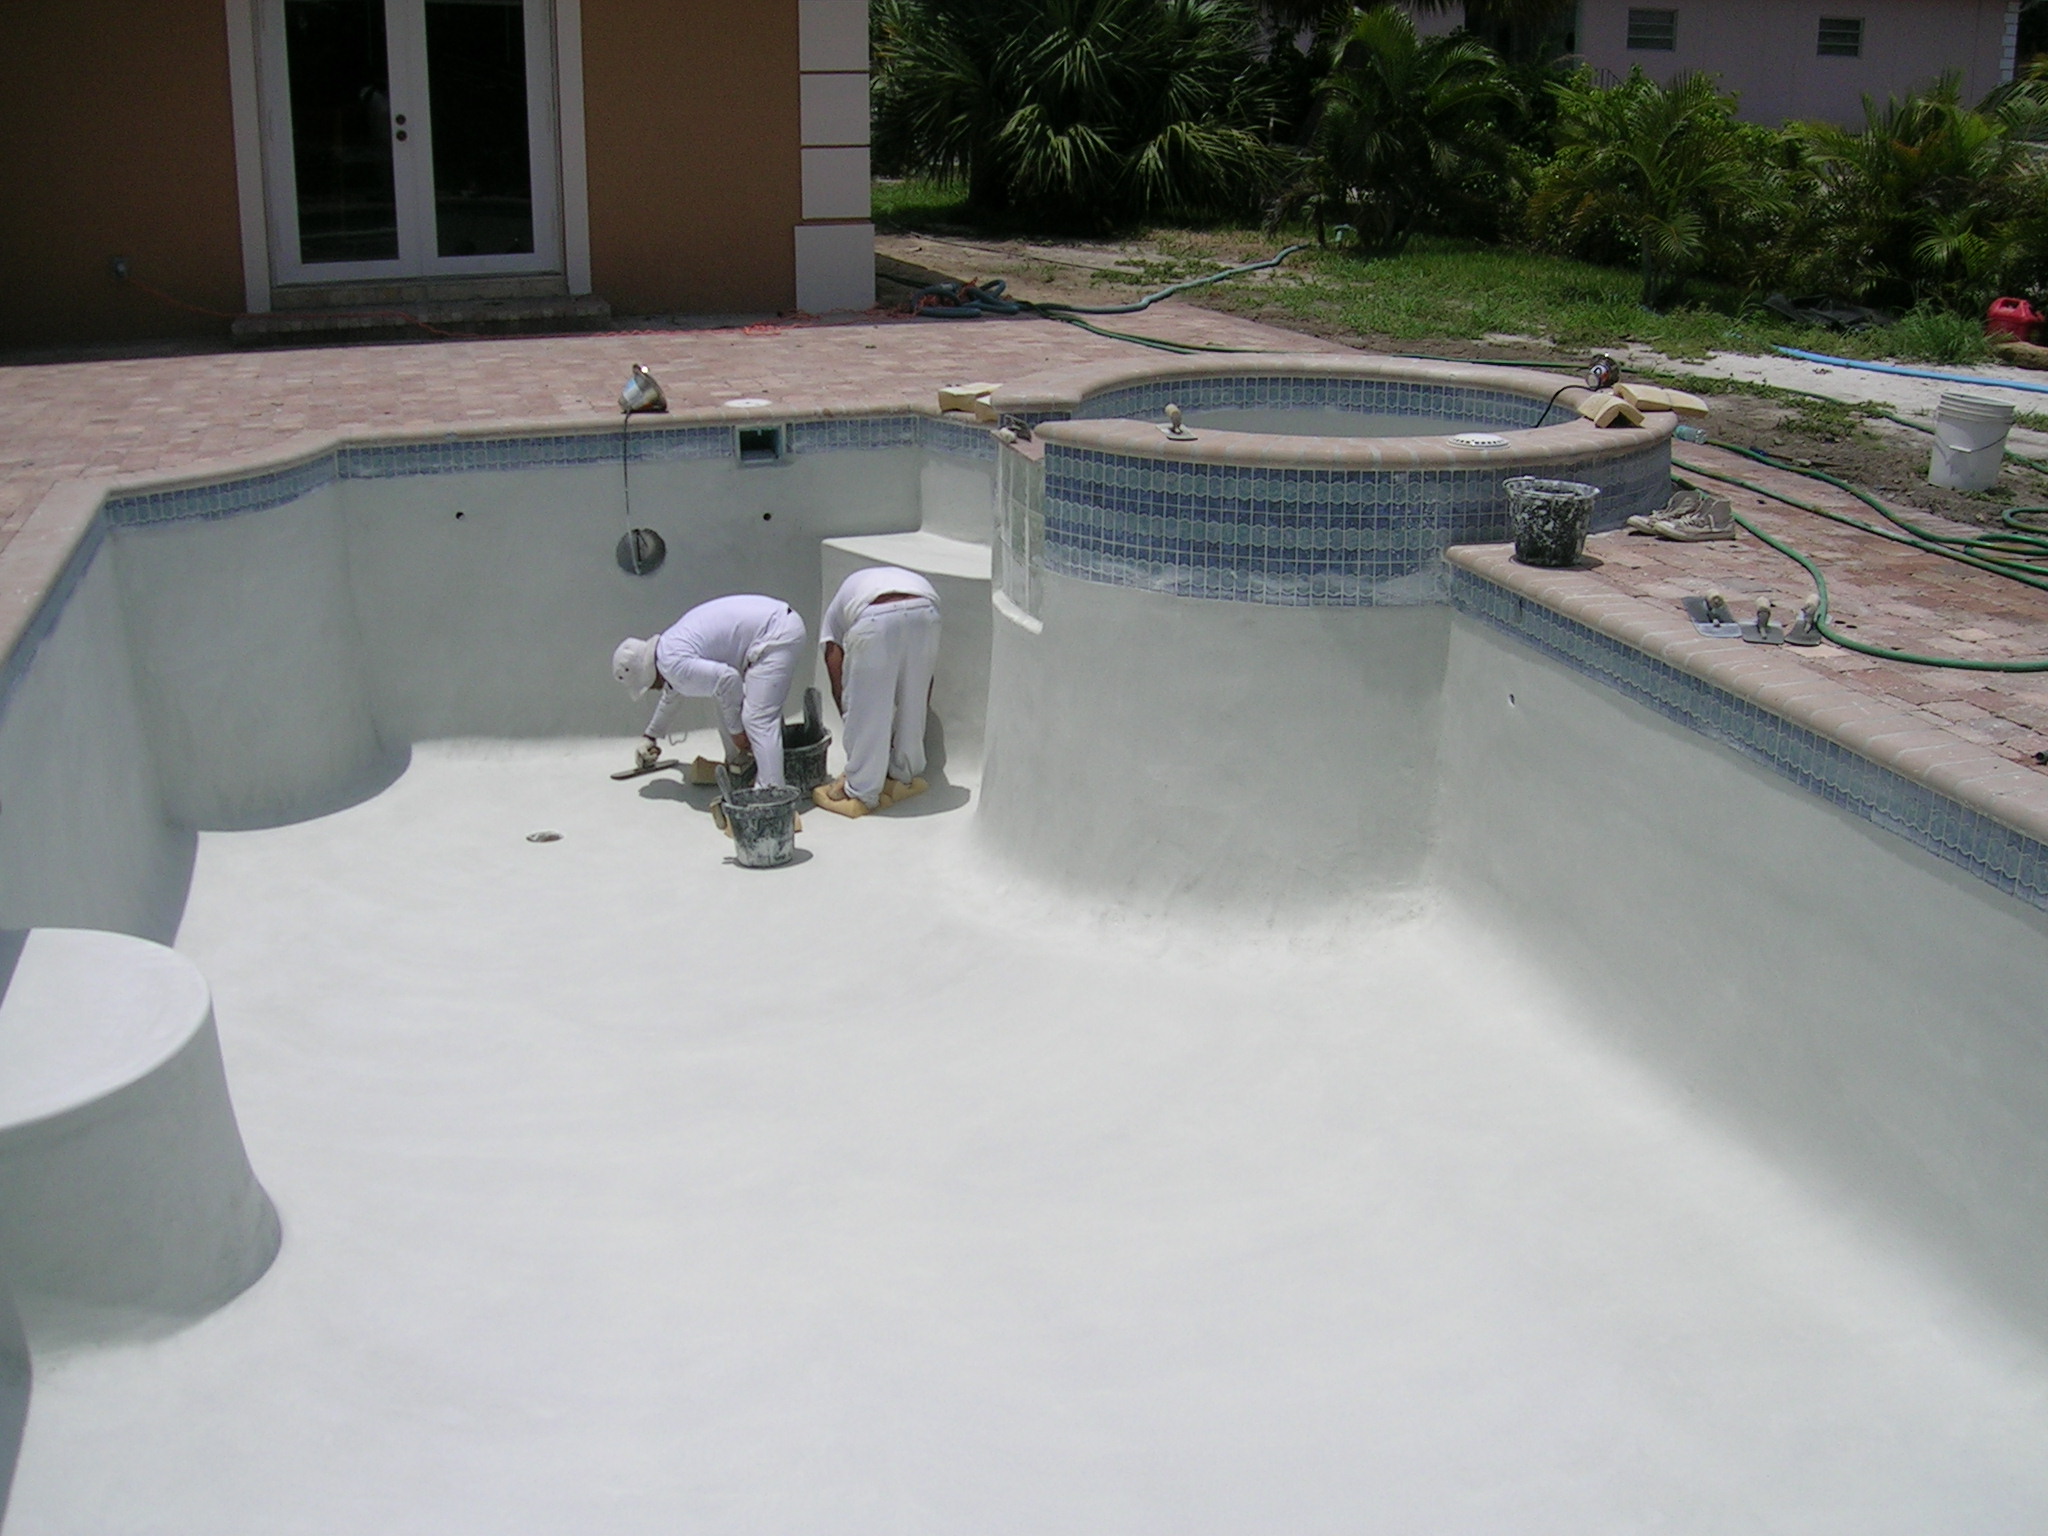
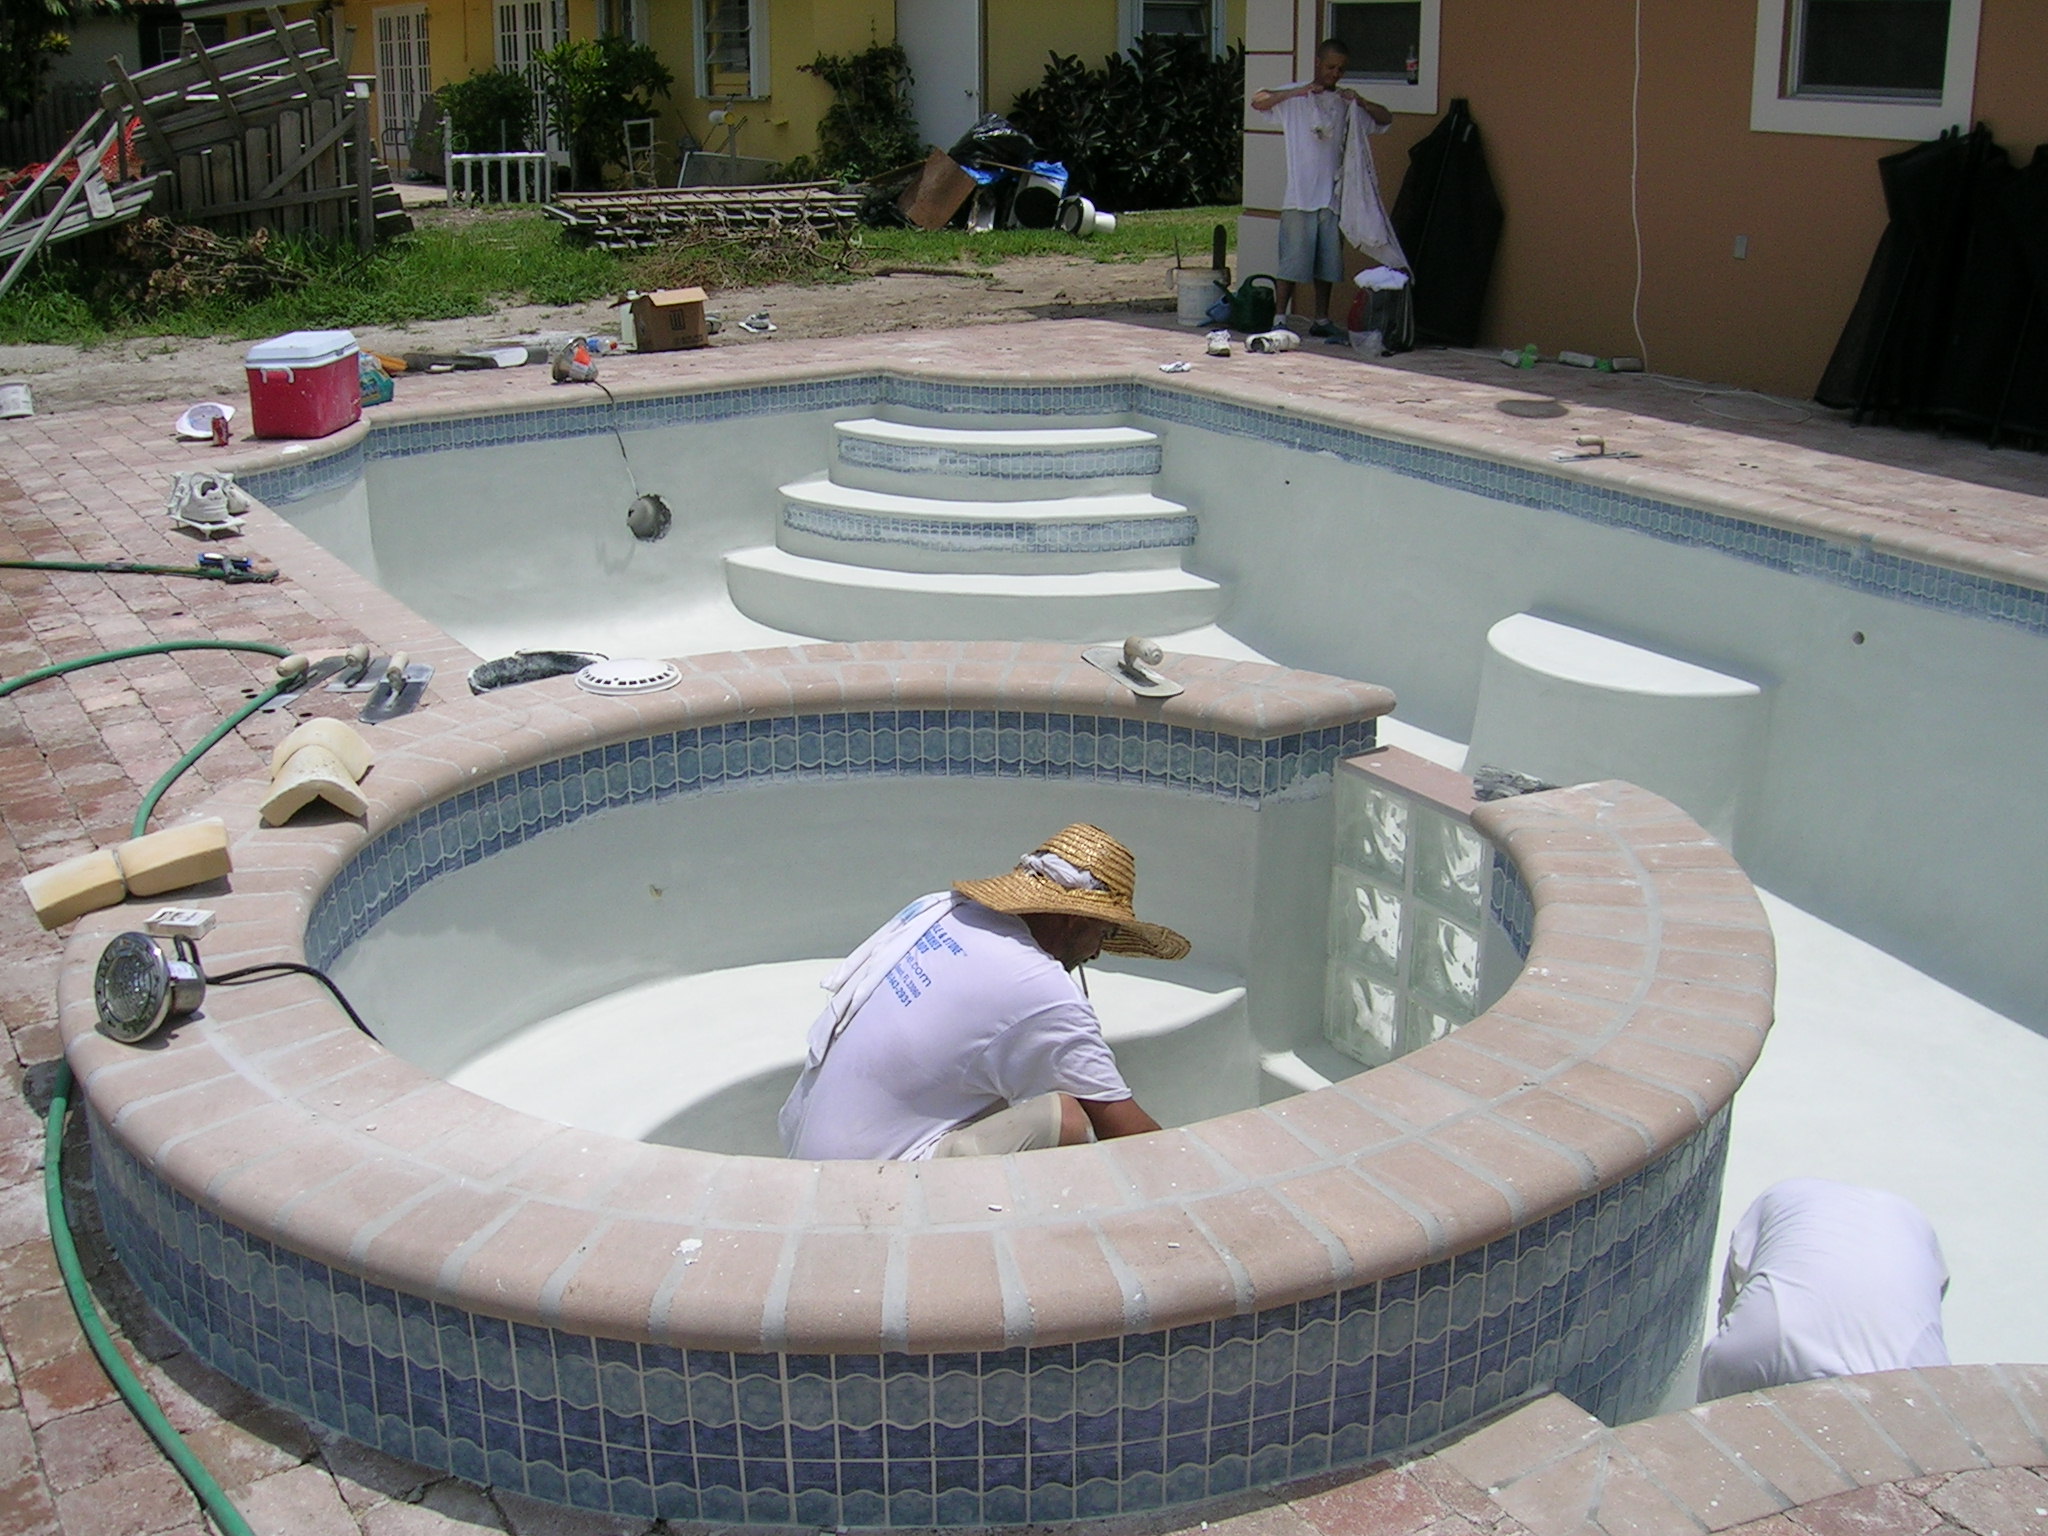
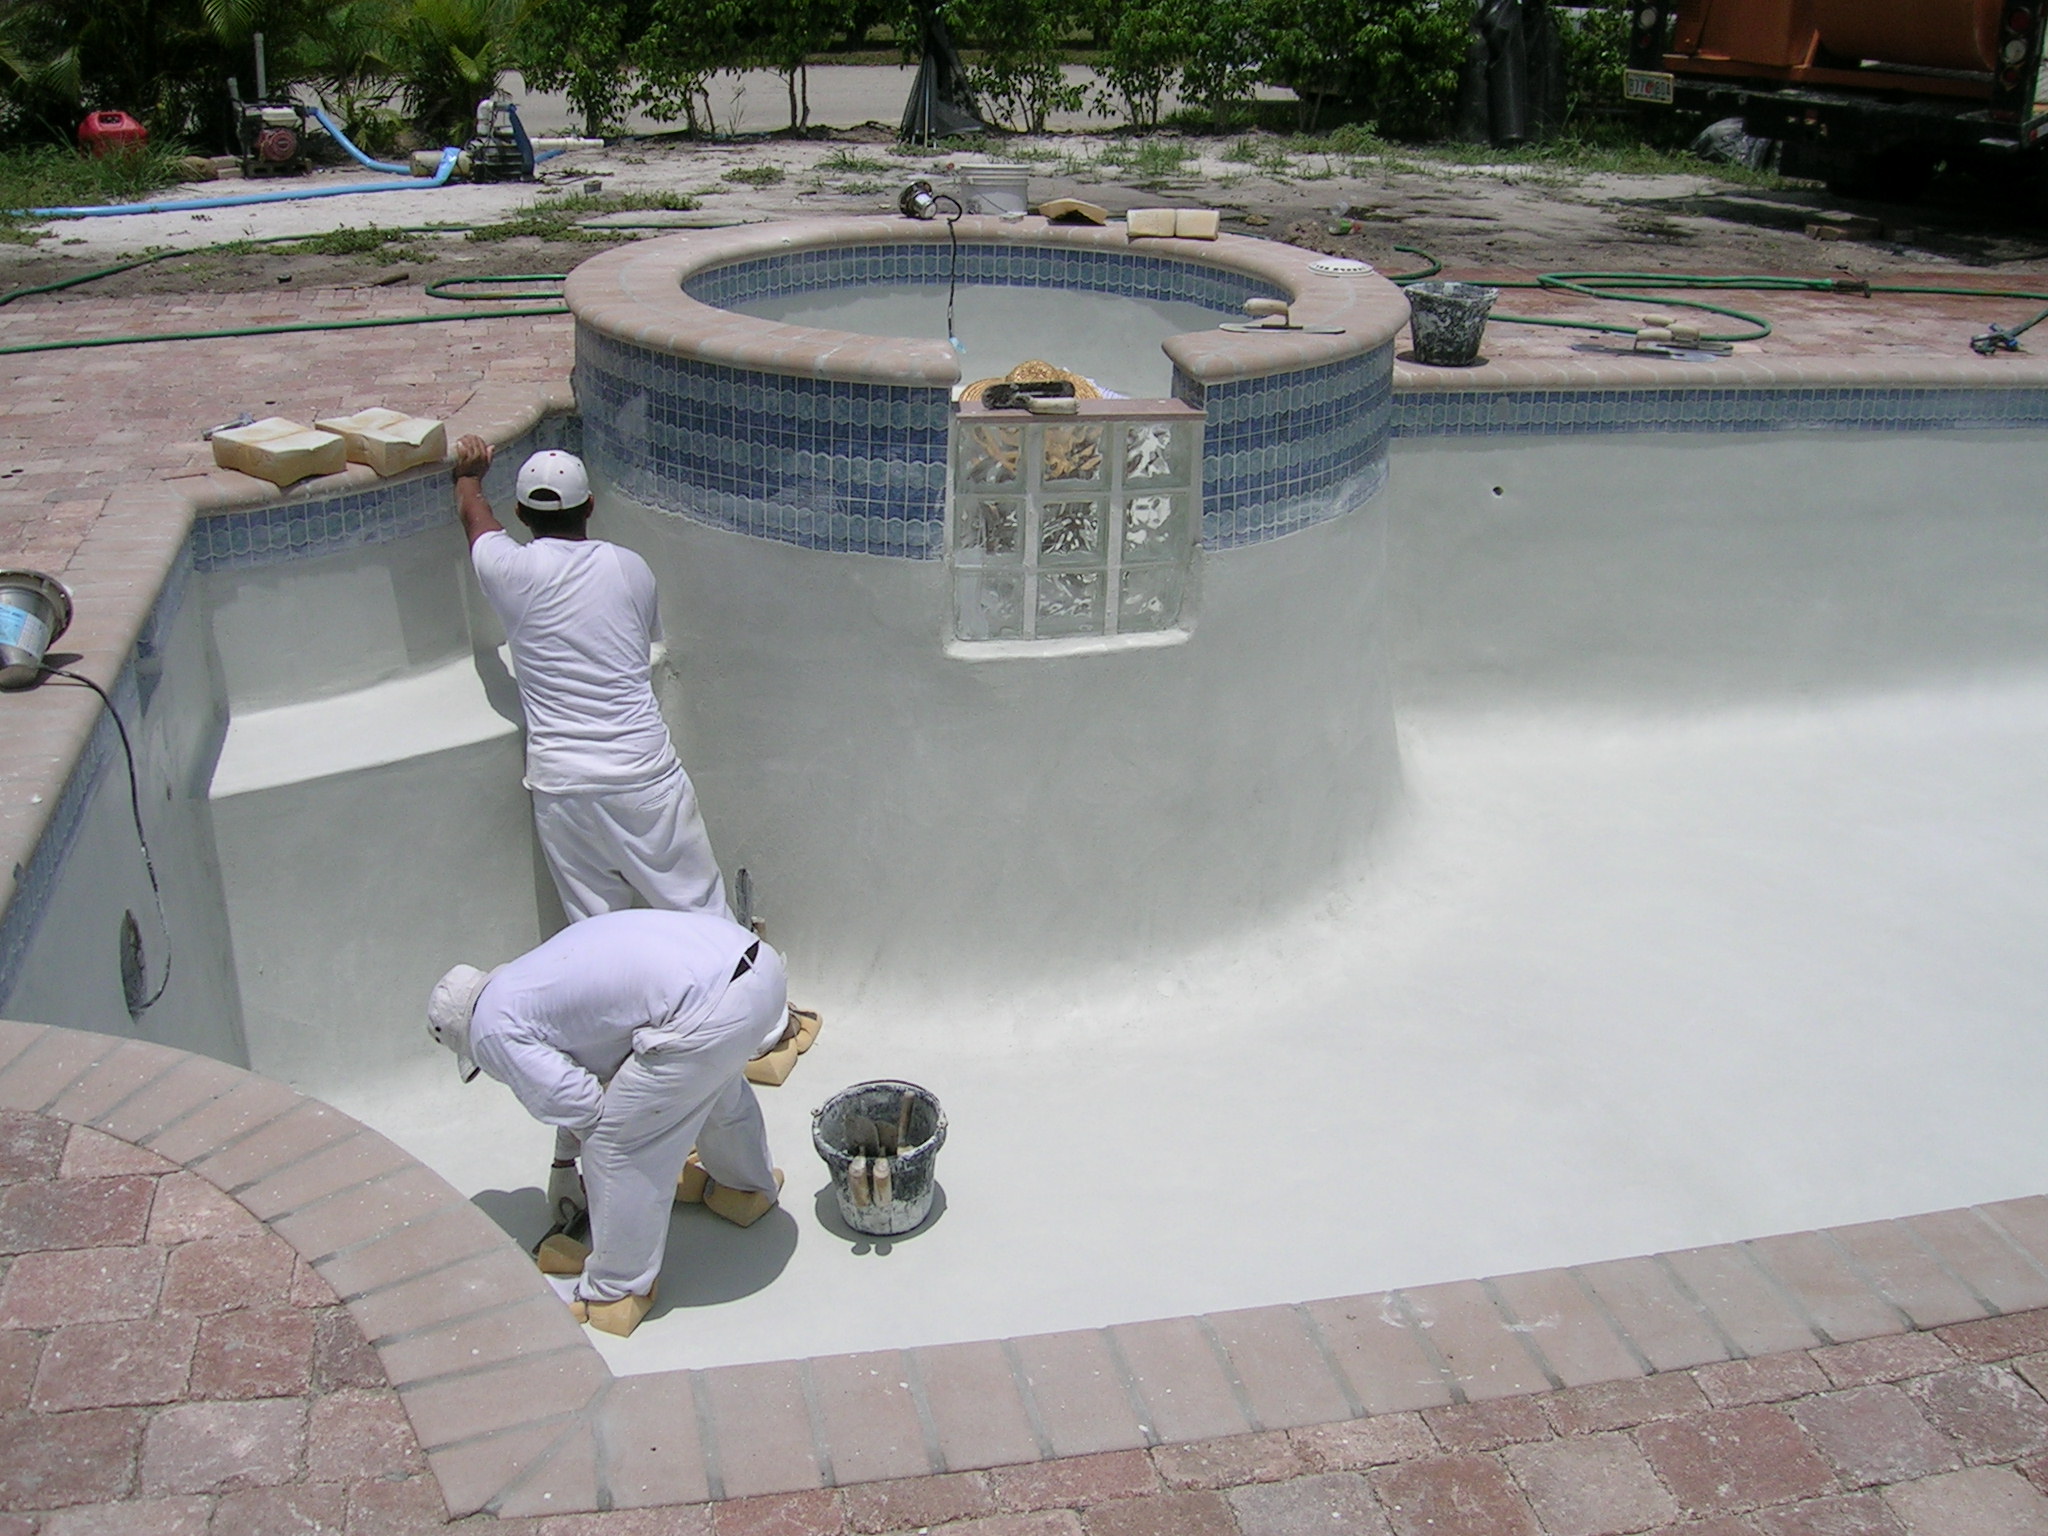
23. Interior Pool Finish: Diamondbrite, Pebble Tec or Pebble Sheen finishes are recommended. Other finishes also available in an assortment of colors.
019: 020: 021:
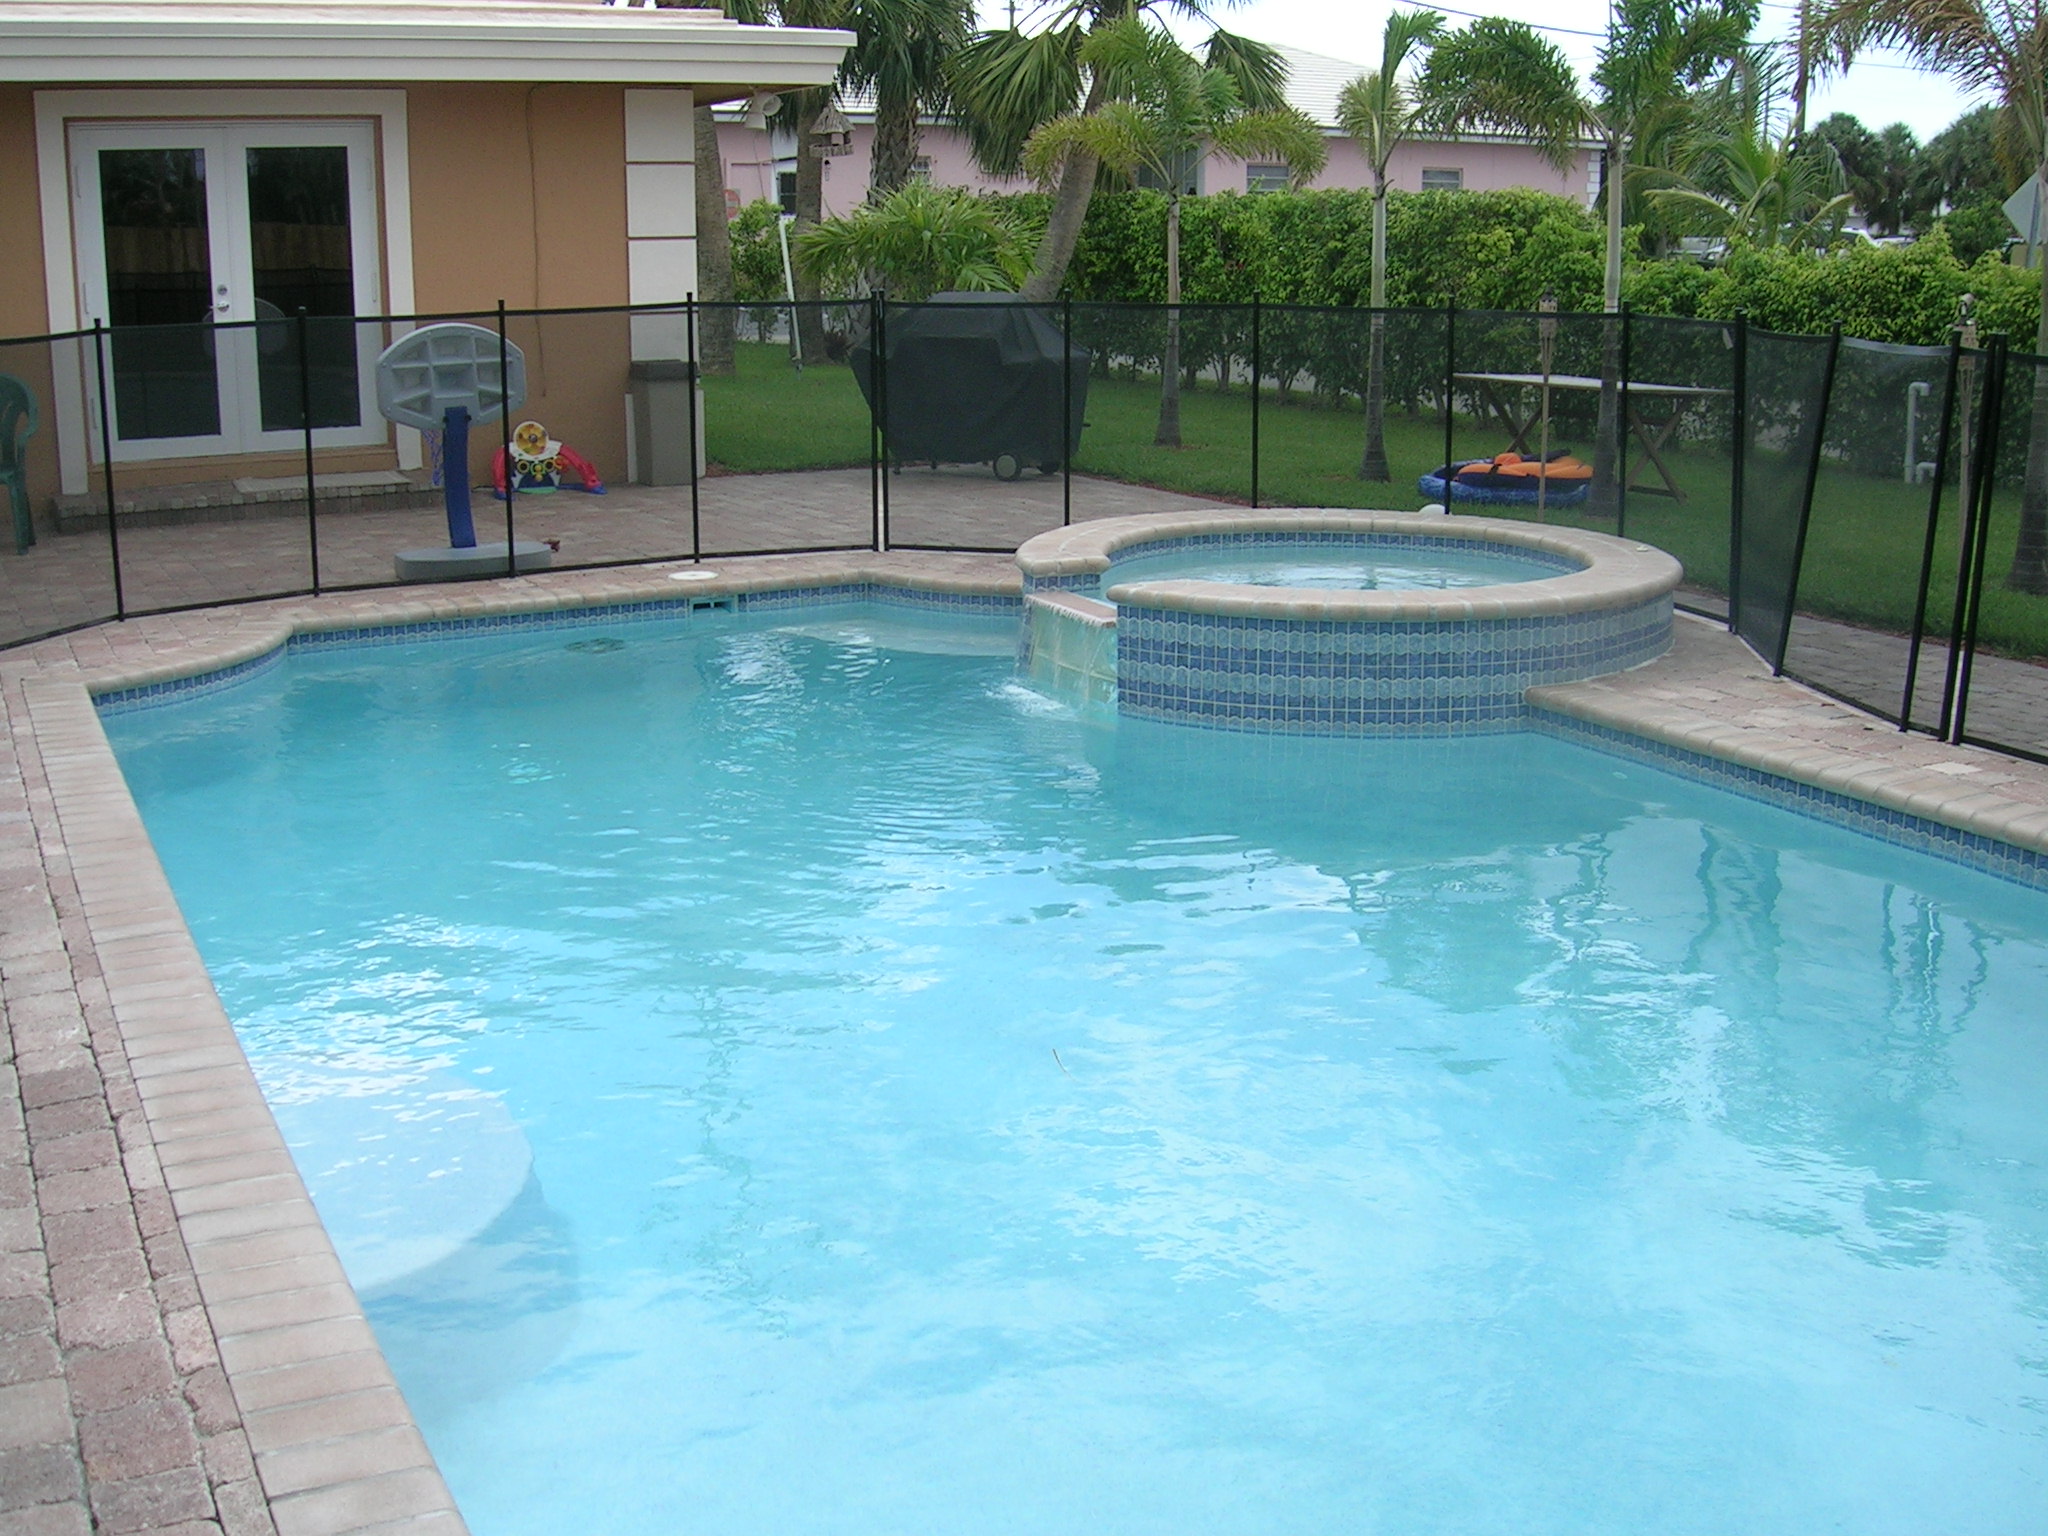
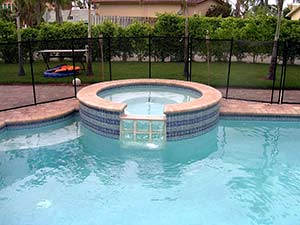
24. Pool Fill: Pool starts to be filled with water the same day (for diamondbrite) or the next day after completion of acid wash and pressure cleaning (for PebbleTec/ Pebble sheen). Interior finish cures under water. Start-up chemicals are added as pool is filled and pump is started for pool circulation. Ph stabilization and weekly maintenance and brushing of interior surface to be continued by a professional service technician or My Sol Pools Maintenance Division for at least a month.
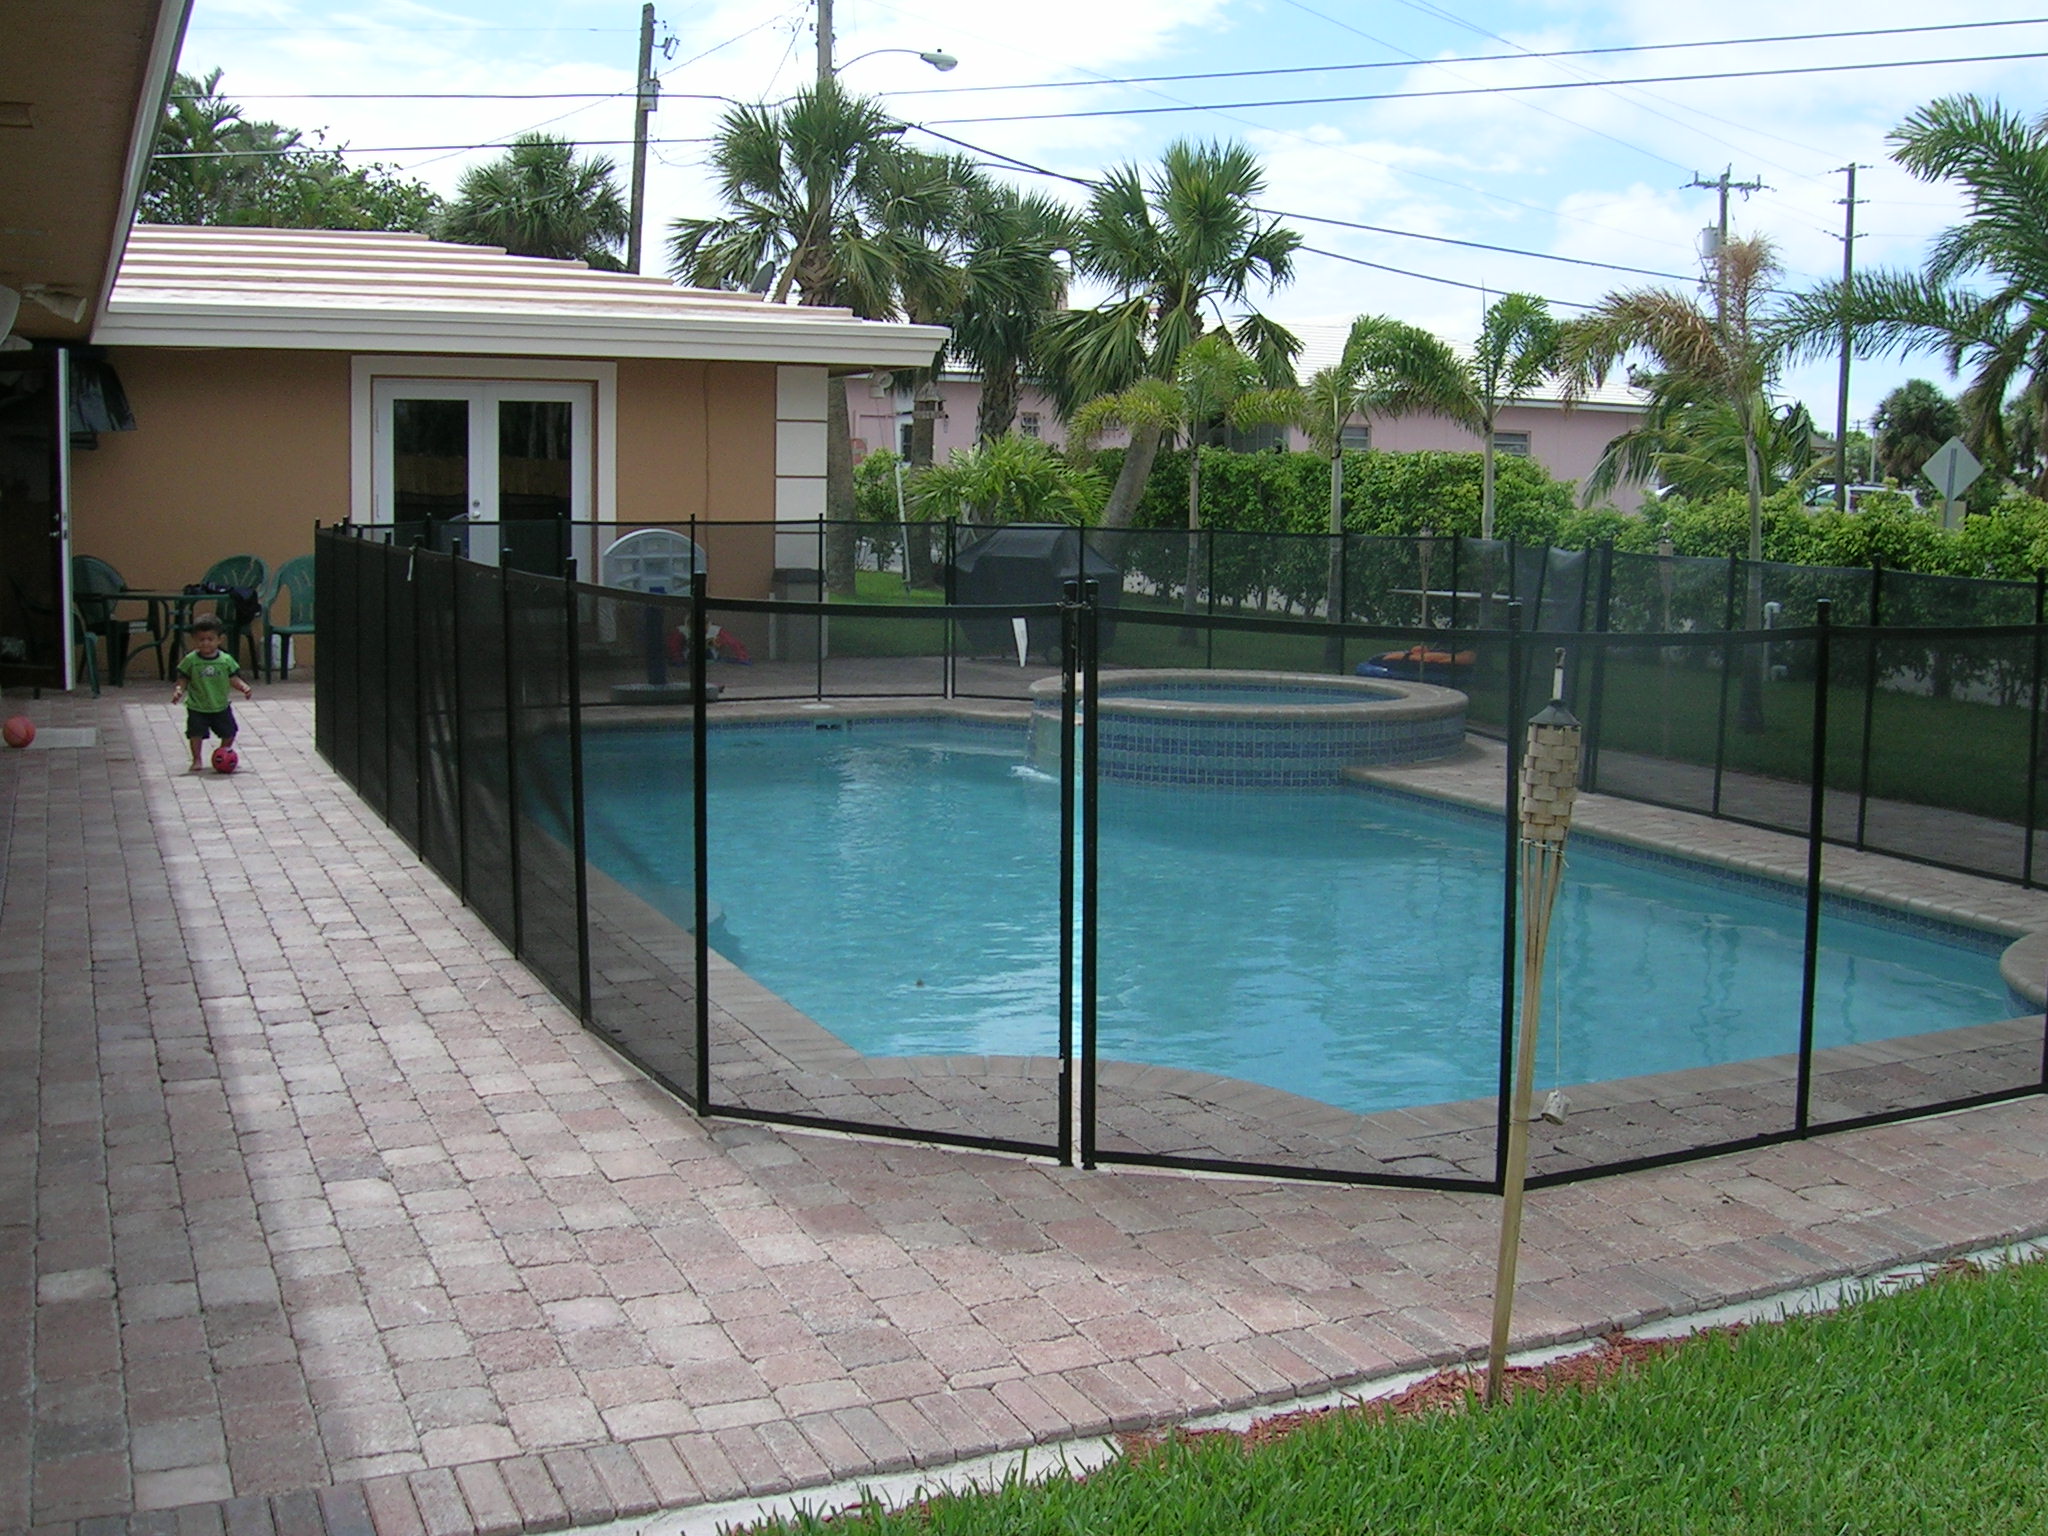
25. Final Inspection to pool and deck. Pool to be totally operational. Child Safety fence and/or alarms at doors and windows, including required property fencing, to be in place prior to final inspection.
26. Jump in! After final inspection is passed, the new pool owners can enjoy their new swimming pool.
086: 090: 091: